The EK Civic K-Swap, Part 1: A Year of Prep Before the Engine Even Comes Out
This is part one of a project I've been chasing for two years: a K-series swap into a Honda Civic EK. This post covers December 2024 through August 2025 — and the engine swap itself hasn't even started yet. Before I touch the drivetrain, I wanted a chassis that's properly sorted: suspension, brakes, interior, and enough track time to actually understand what the car needs.
Why an EK/EJ Civic
I'd wanted an EK or EJ Civic for a long time, but it was never just a casual decision. These chassis were proven on track decades ago — Spoon was racing EG and EK Civics (and the Integras) back in the 90s, and all of them have held up as genuinely good track cars. They're also comparatively affordable, especially here in the UK.
My goal wasn't to build a show car, and it wasn't to build a pure track car either. I wanted an all-rounder — something I could take to the Nürburgring one weekend and to Tesco the next. Any motorsport person will tell you that balance is hard to get right unless you've got the latest tech: adaptive dampers, electronically adjustable everything. What the EK/EJ gives you instead is a chassis that's light, simple, easy to work on, and backed by a huge aftermarket. That combination — plus the fact that I'd never done an engine swap before — made it the right project to learn on.
Buy the Rust-Free Car, Not the "Bargain"
If you take one thing from this post, take this: pay more up front for a rust-free car. Skip the bargain rust bucket.
A cheap shell that needs welding will cost you in fabrication, paint, and time dealing with shops you can't fully trust — and by the time you've paid for all of that, you can easily be five grand into the car without a single performance part fitted. A clean, rust-free chassis with tidy paint and no seized bolts costs more at the point of purchase, but it sets a standard for the rest of the build. When the car itself is clean, it pushes you not to cut corners on anything you add to it.
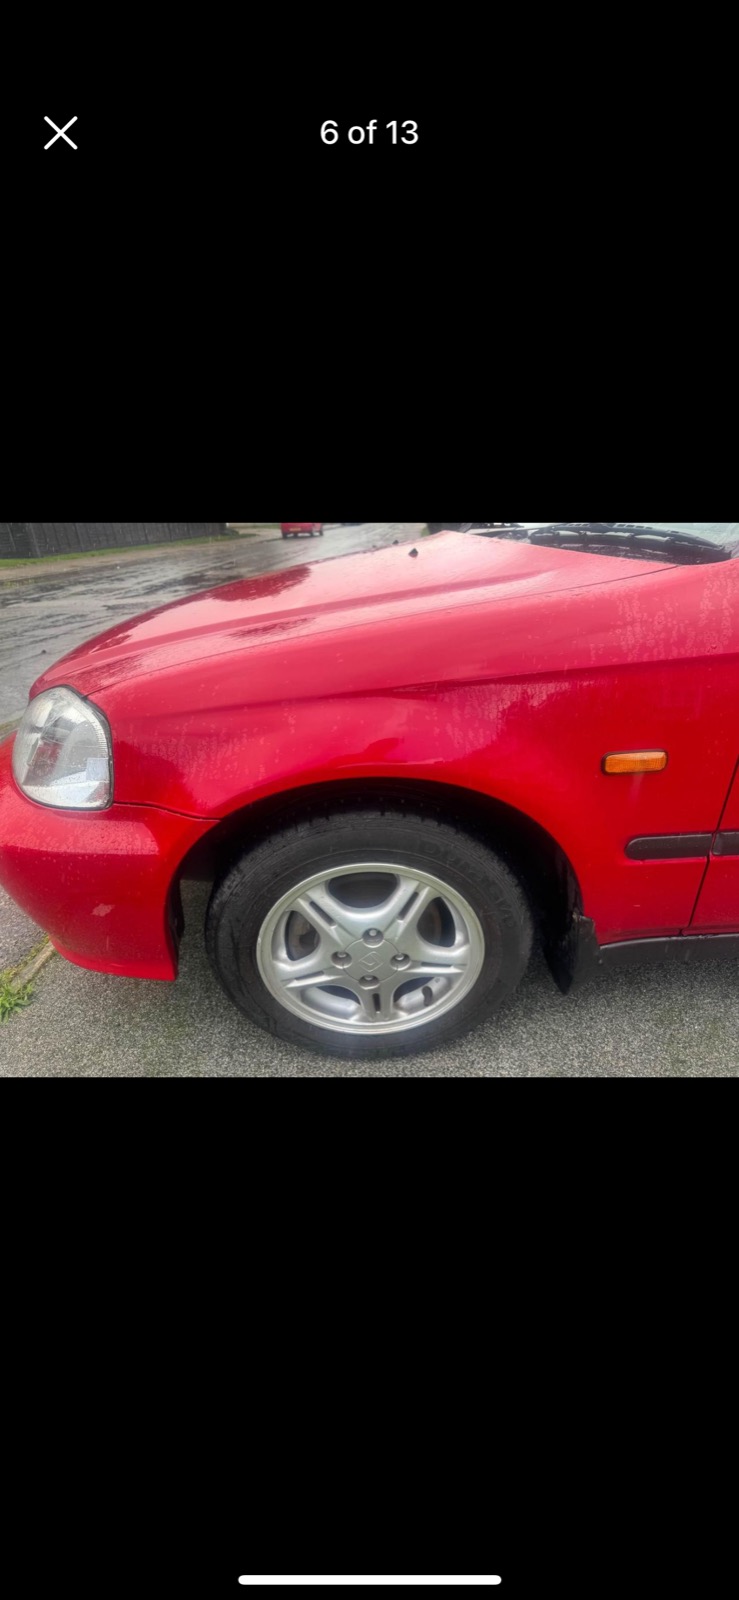
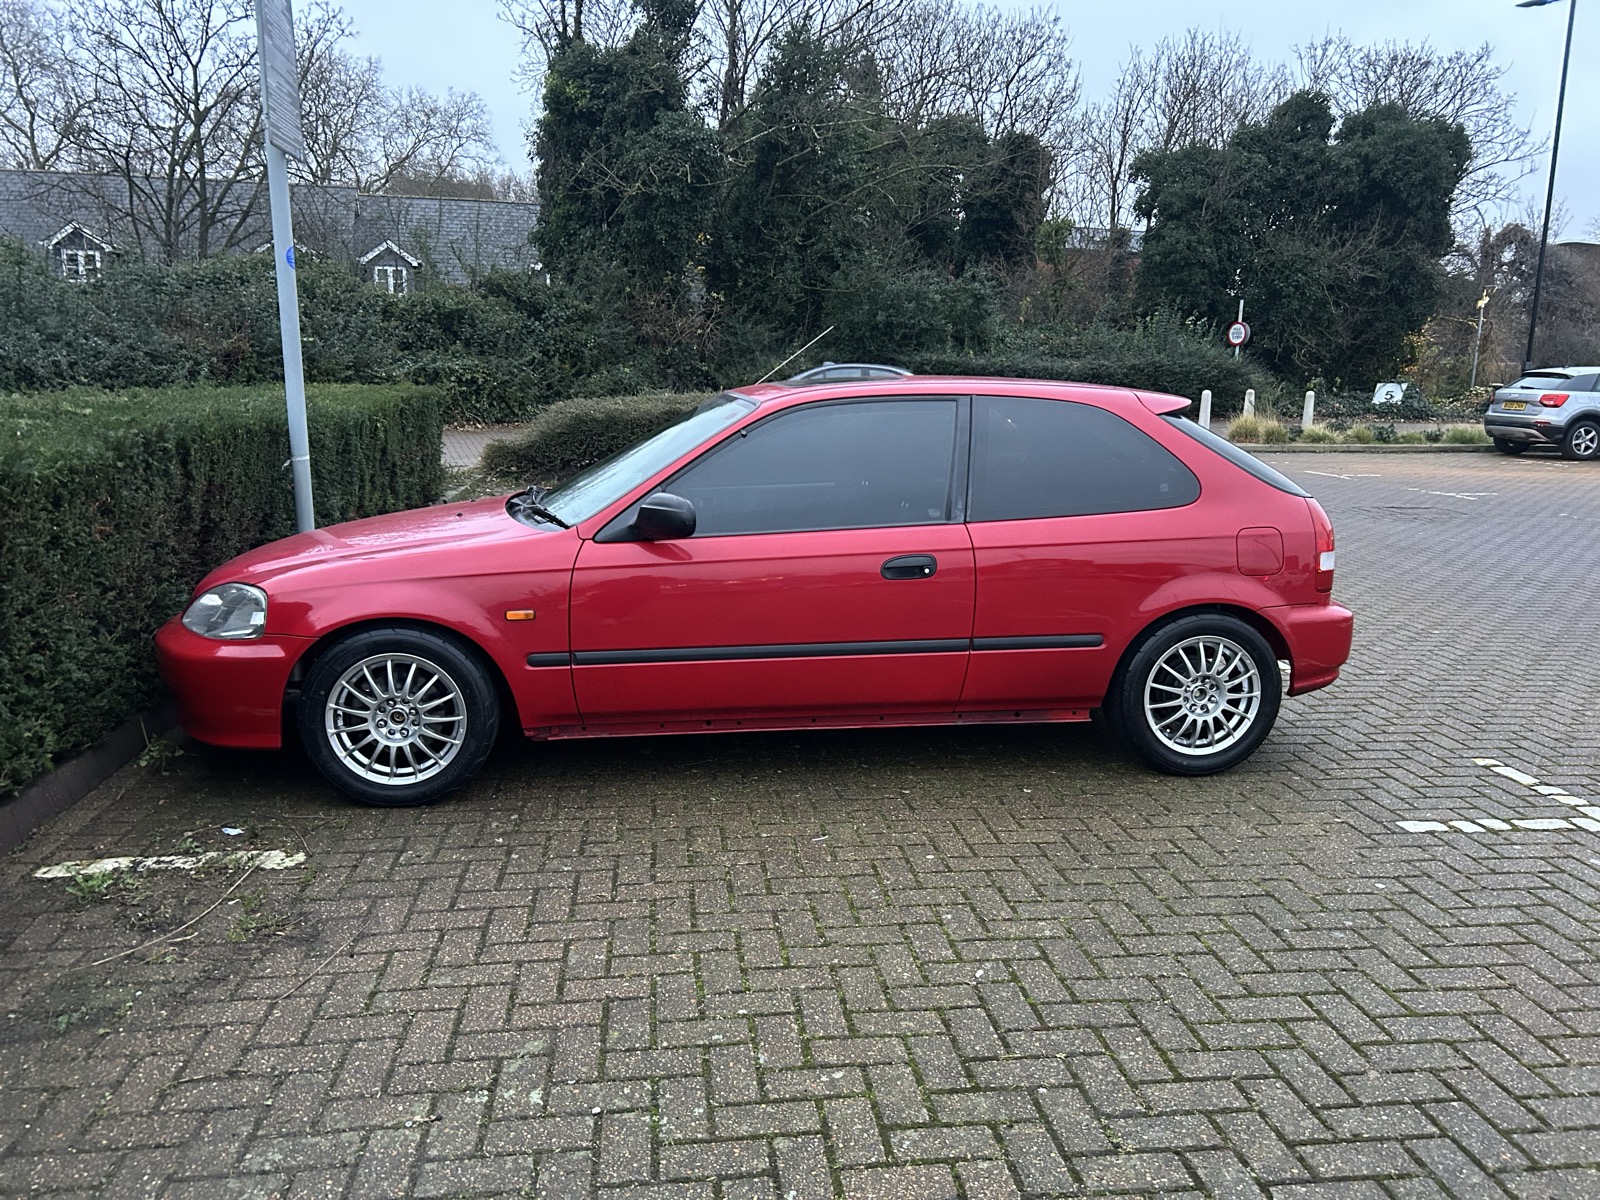
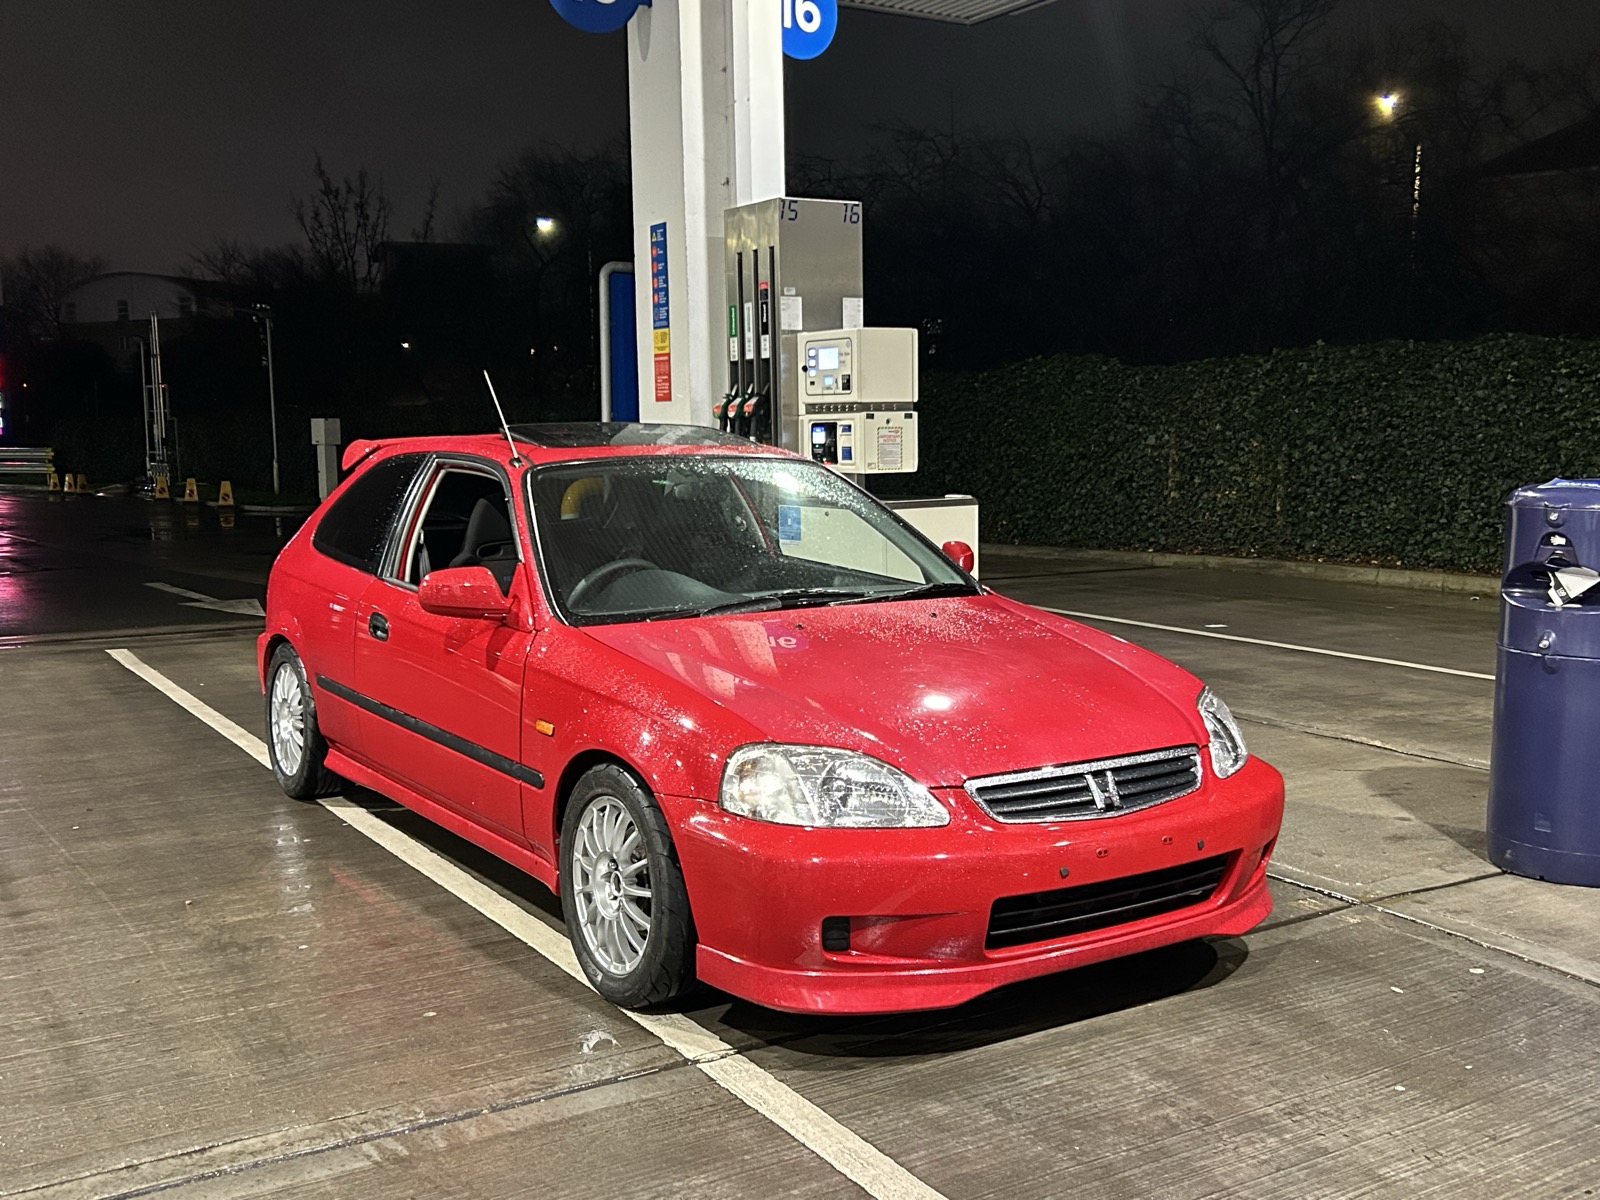
The Car
I found my Civic almost by accident, and it felt like it was made for this. One owner for 25 years, around 72,000 miles on the clock, fully stock, and — critically — no rust anywhere.

The Plan: Sort the Chassis First
Before any major engine work, my plan was to upgrade the car to a solid aftermarket baseline and actually use it — track days, road miles, the lot — so I'd have a "before" lap time to compare against once the K-series goes in. Here's everything that went into the car during this phase.
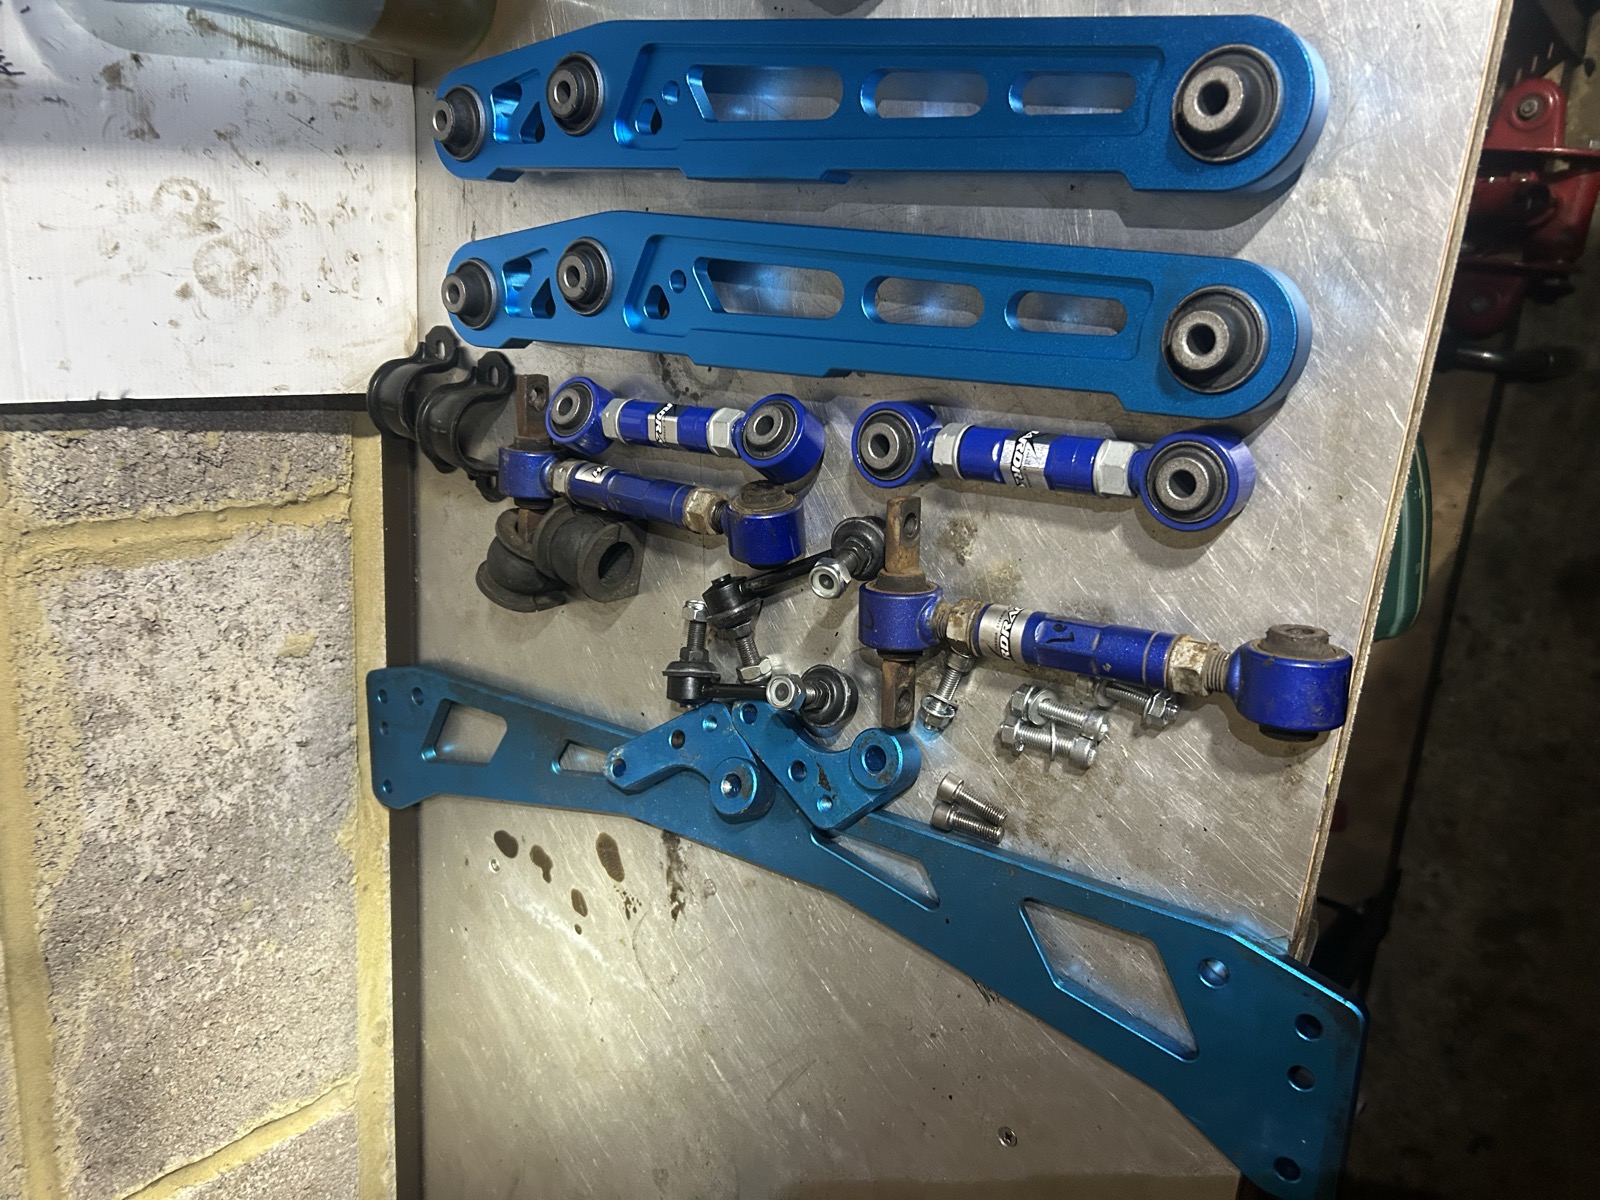
Suspension: Hardrace Arms and Bushes
First up was a full set of Hardrace arms and bushes — front and rear. This is the kind of work that's invisible once it's all bolted back together, but it's the foundation for everything else handling-related.
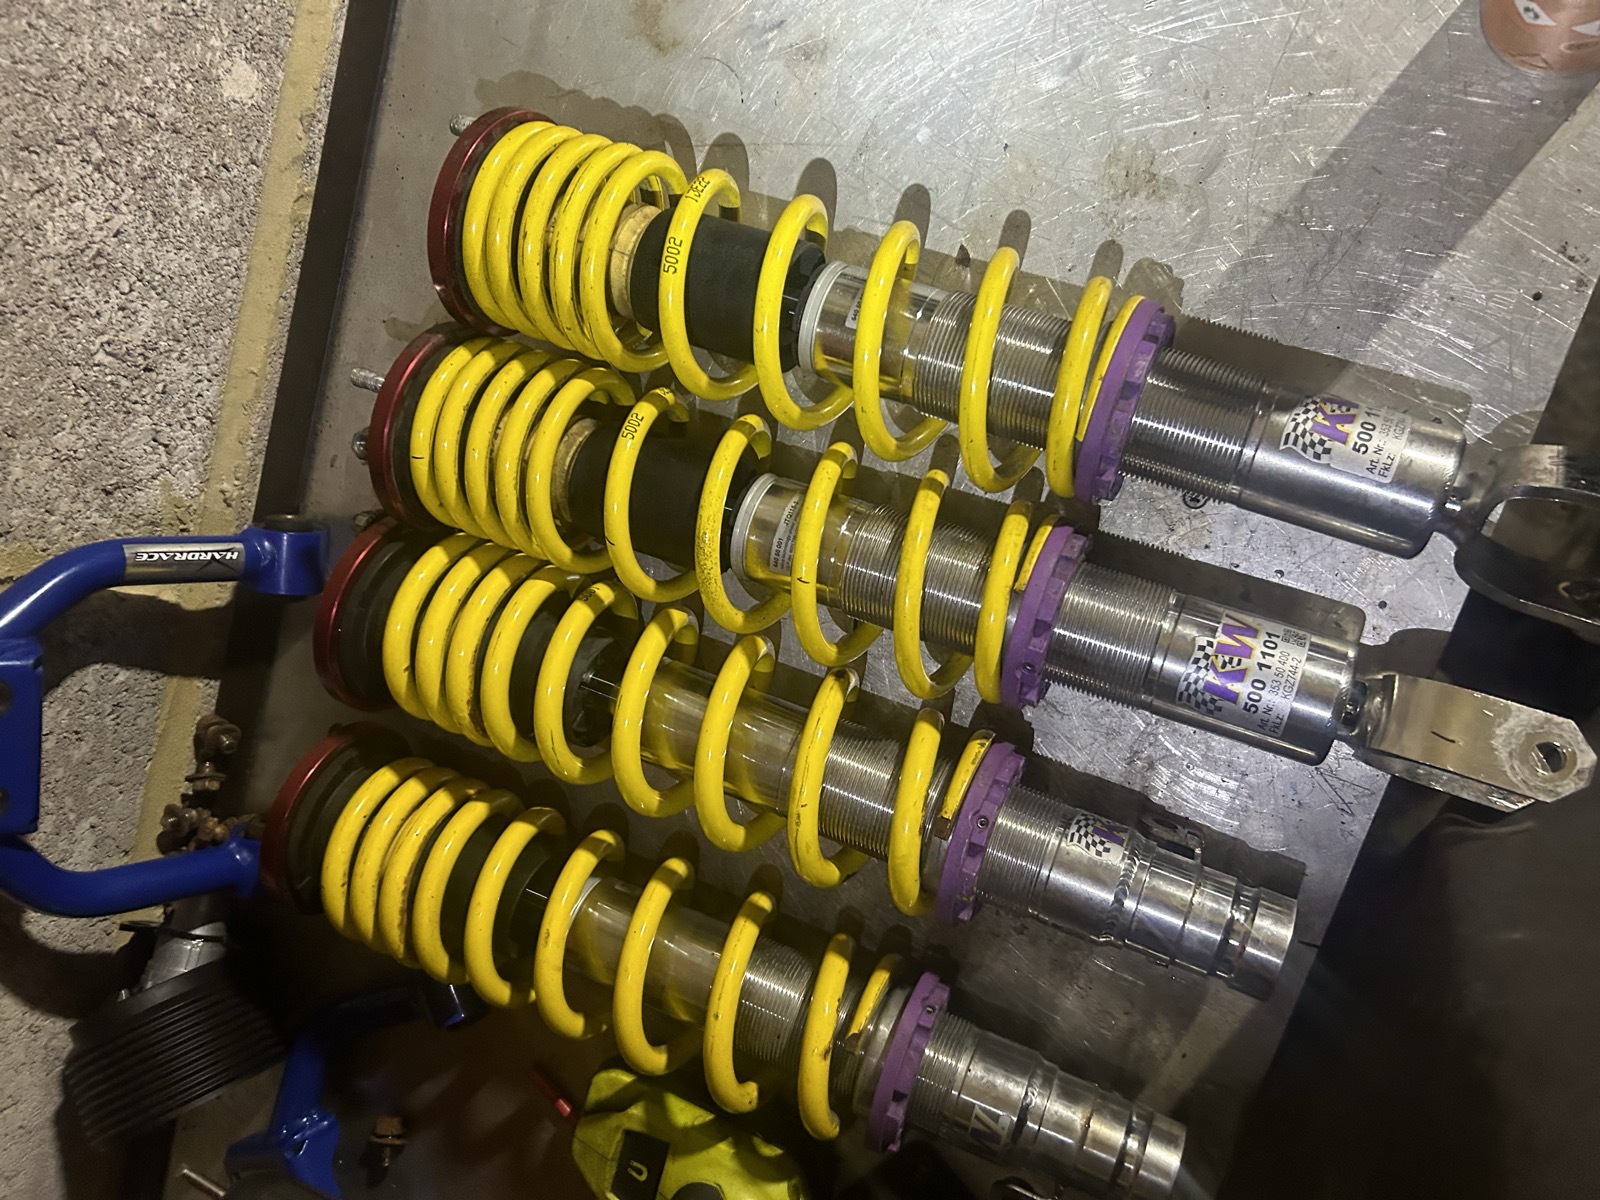
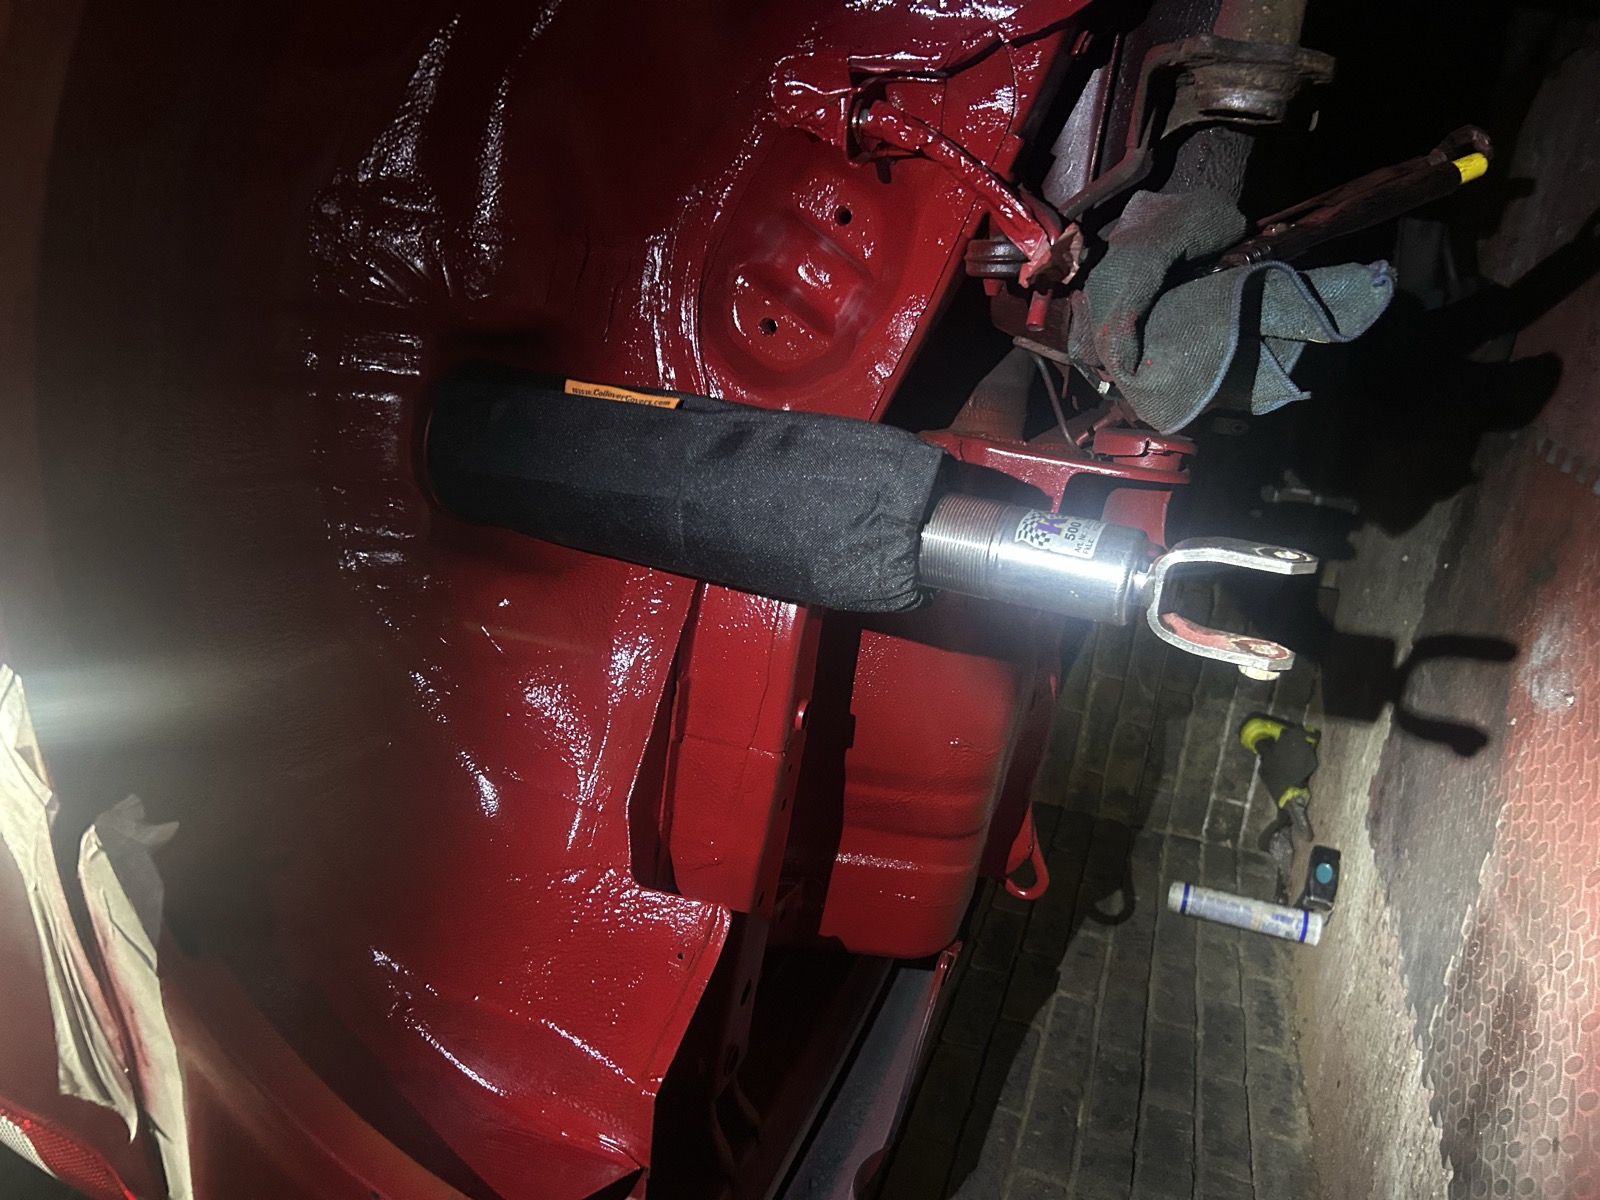
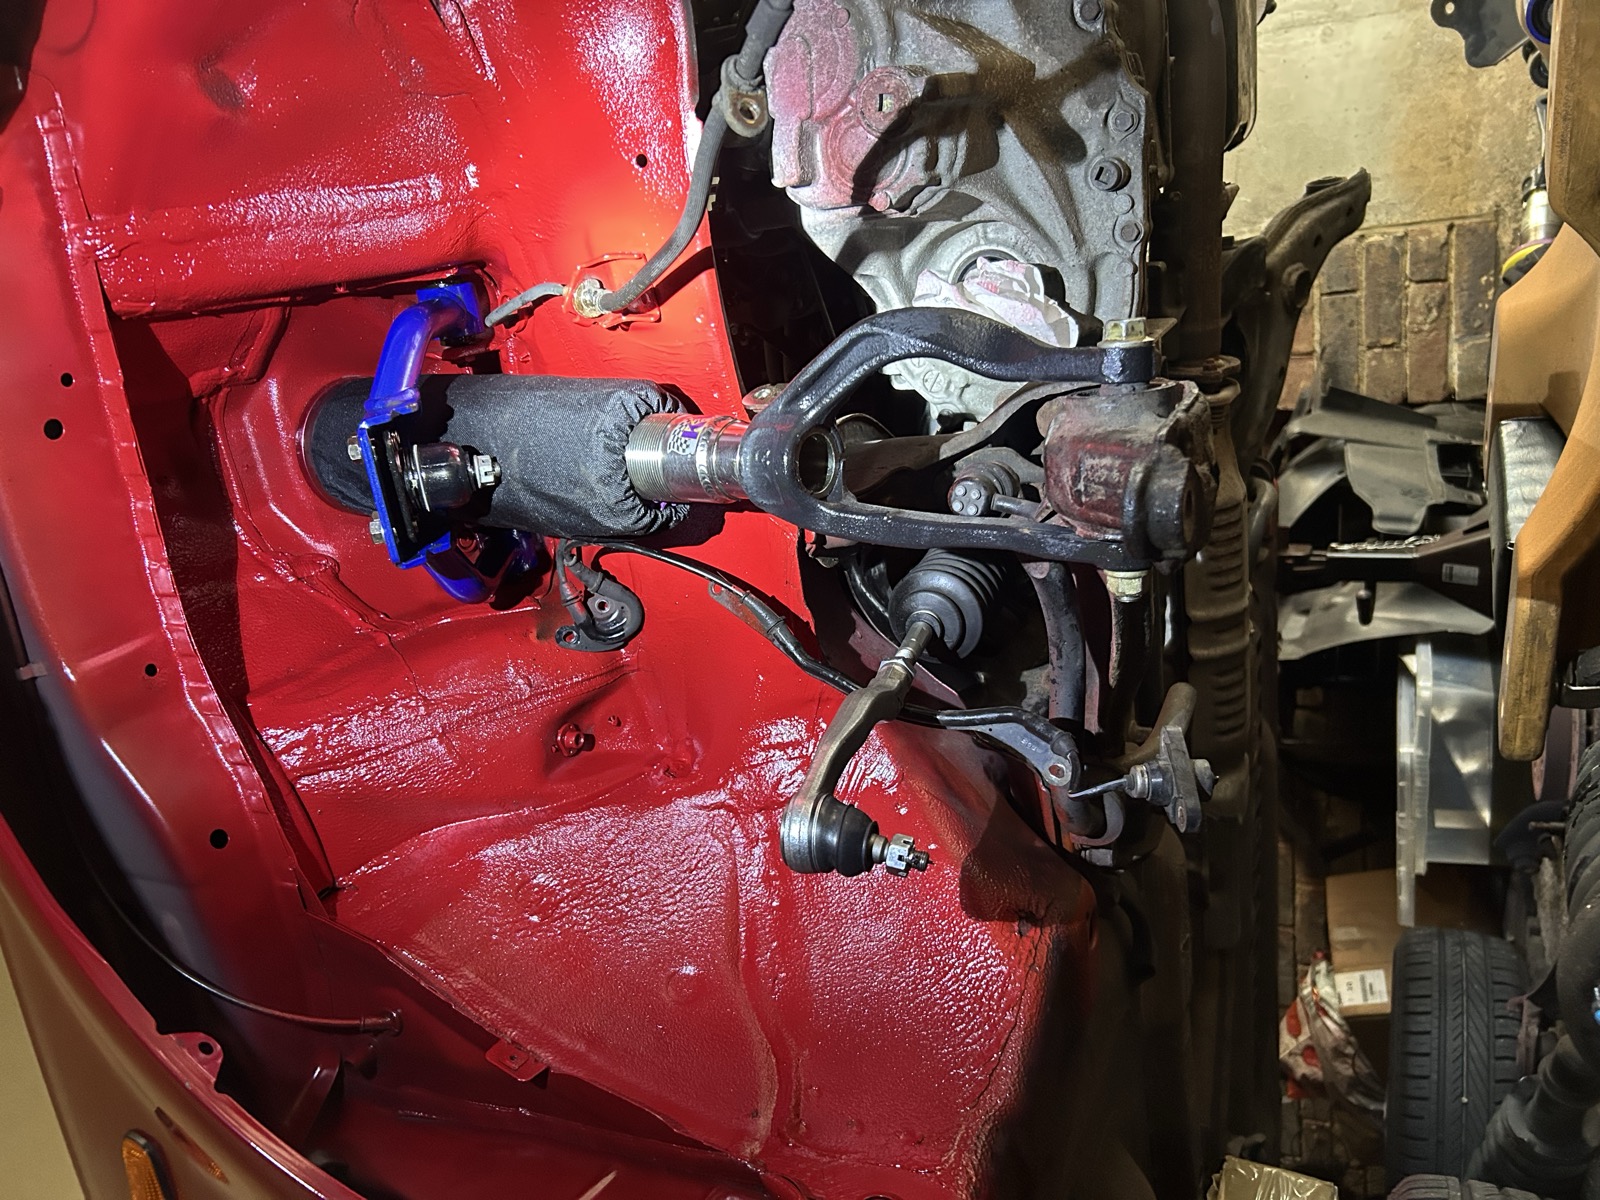
KW V3 Coilovers, With Socks
For ride height and damping, I went with KW V3 coilovers — adjustable compression and rebound, which matters a lot once you start doing track days and need to dial the car in session by session. I fitted them with protective socks/covers, partly cosmetic but mostly to keep the bodies clean given how much time this car spends on UK roads in winter.
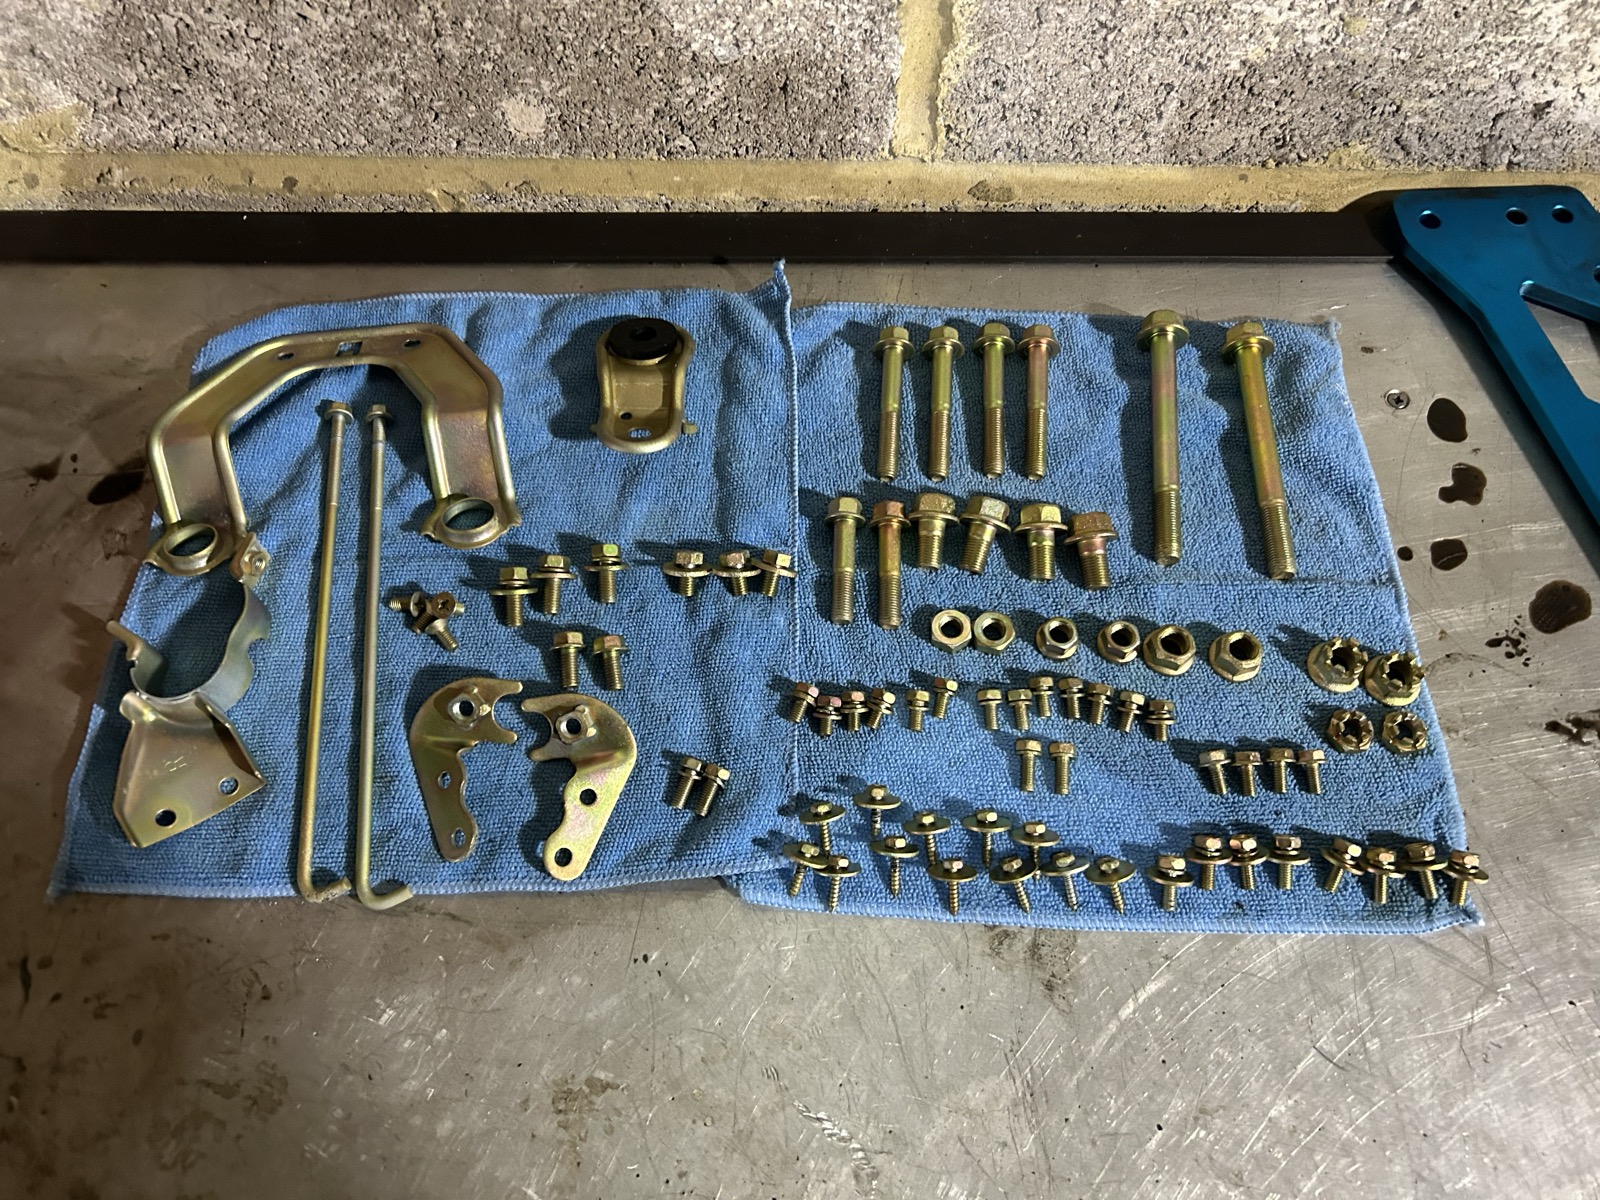
Every Bolt, Zinc-Plated
This is a small detail that takes a disproportionate amount of time: every single bolt and nut that came off the car was replaced with — or had refreshed to — zinc-plated hardware. It doesn't change how the car drives, but it means that in five years' time nothing underneath looks tired.
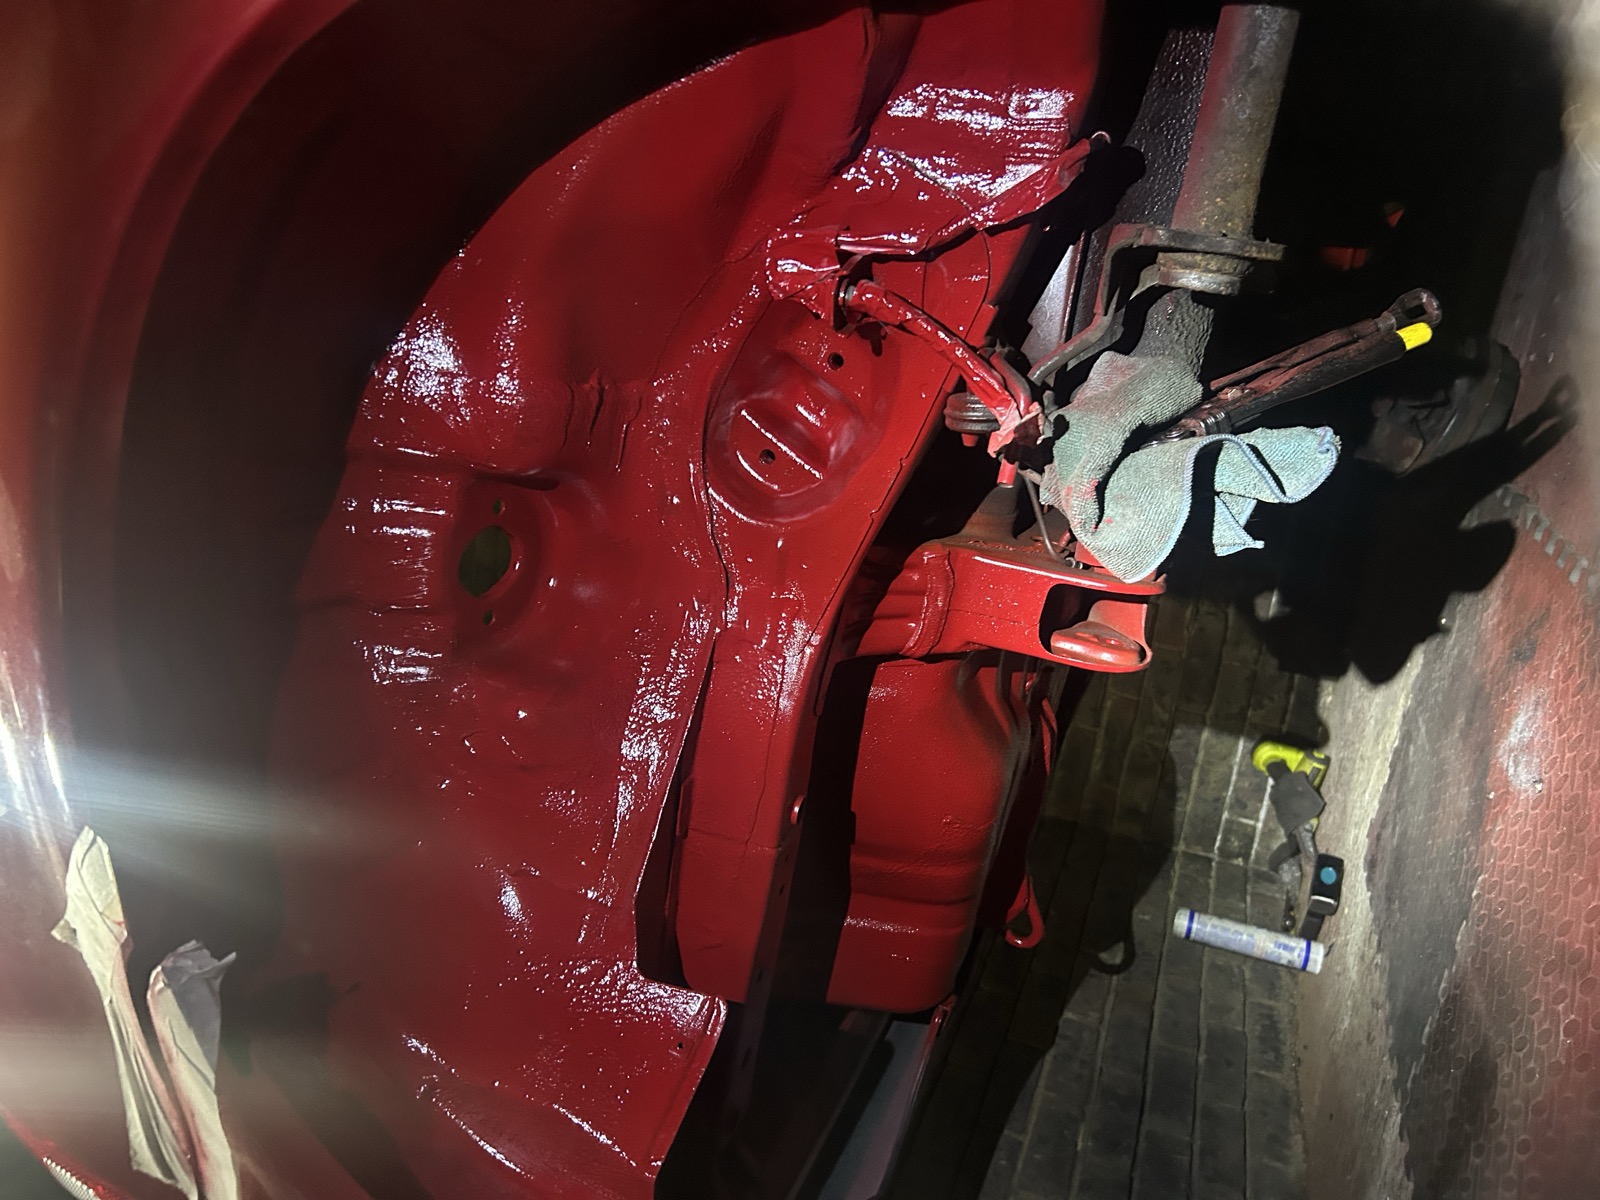
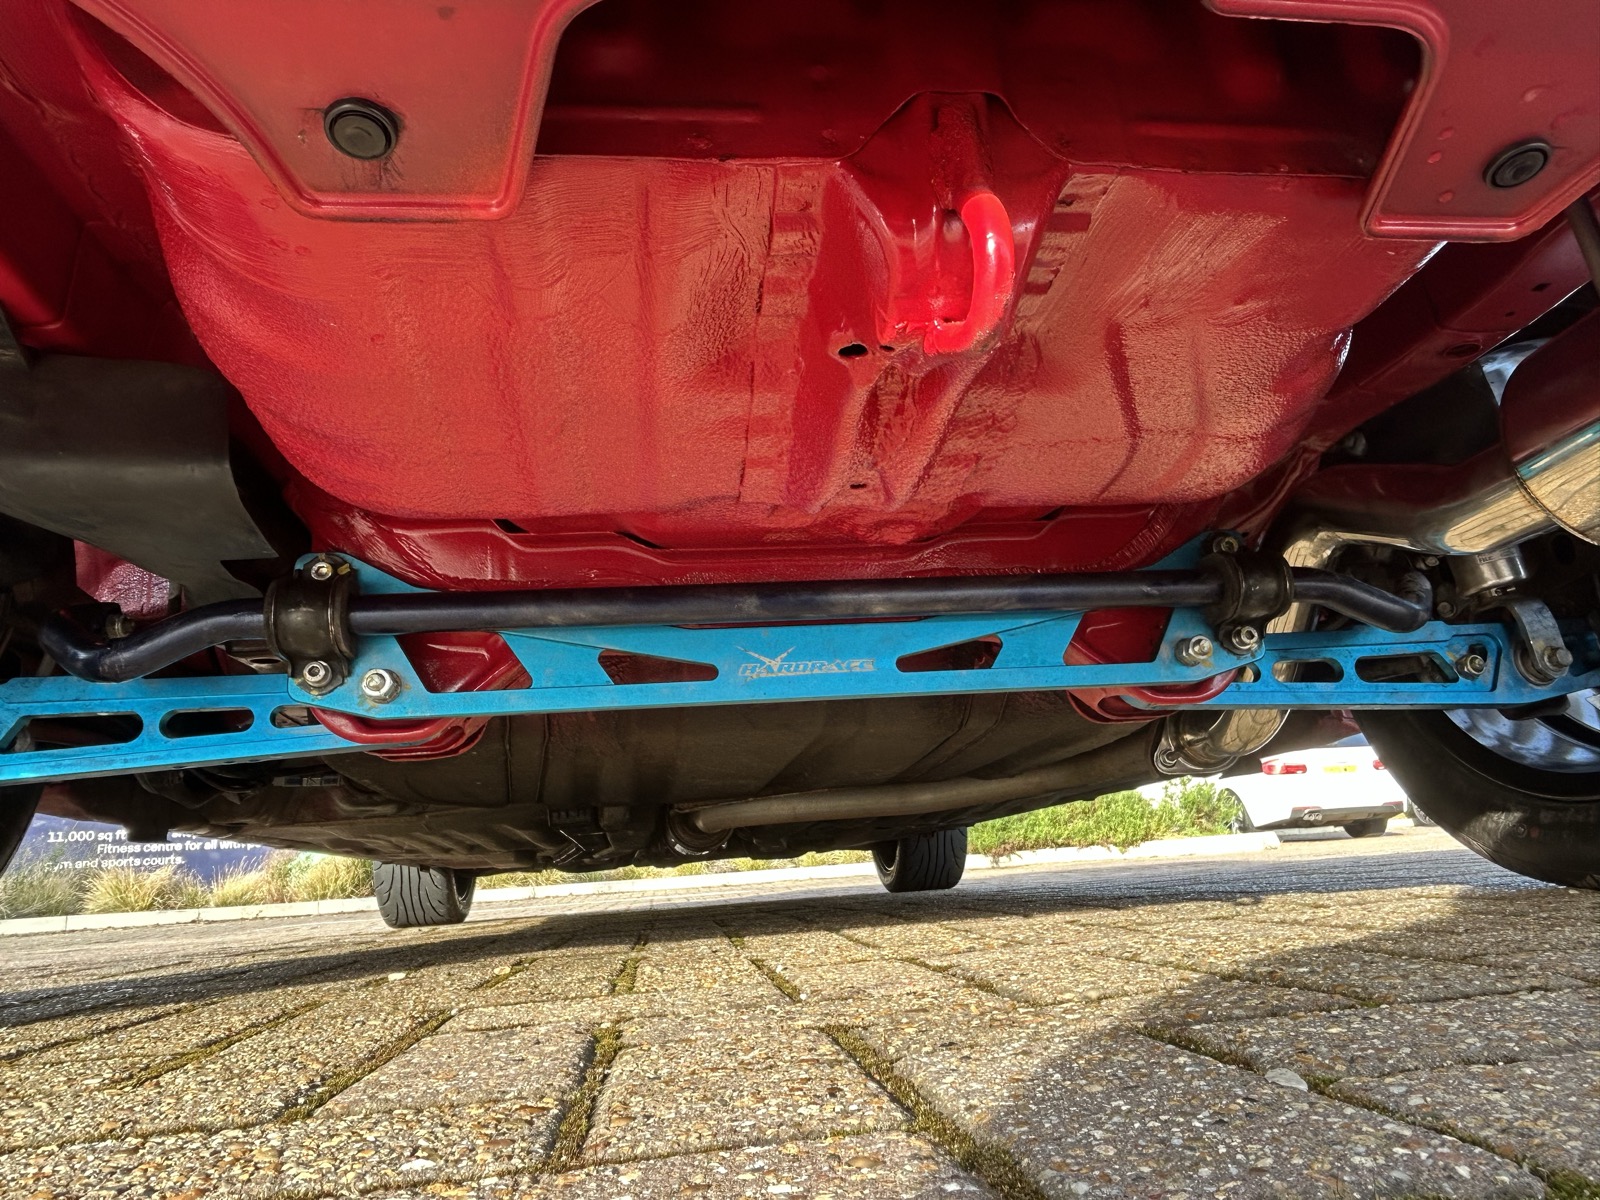
Underside Prep and Paint
With the suspension stripped out, it was the perfect time to clean up and repaint the underside — not for show, but for protection. The aim was "OEM plus": factory-correct, just done properly, so the car can handle UK winters without slowly rotting from underneath.
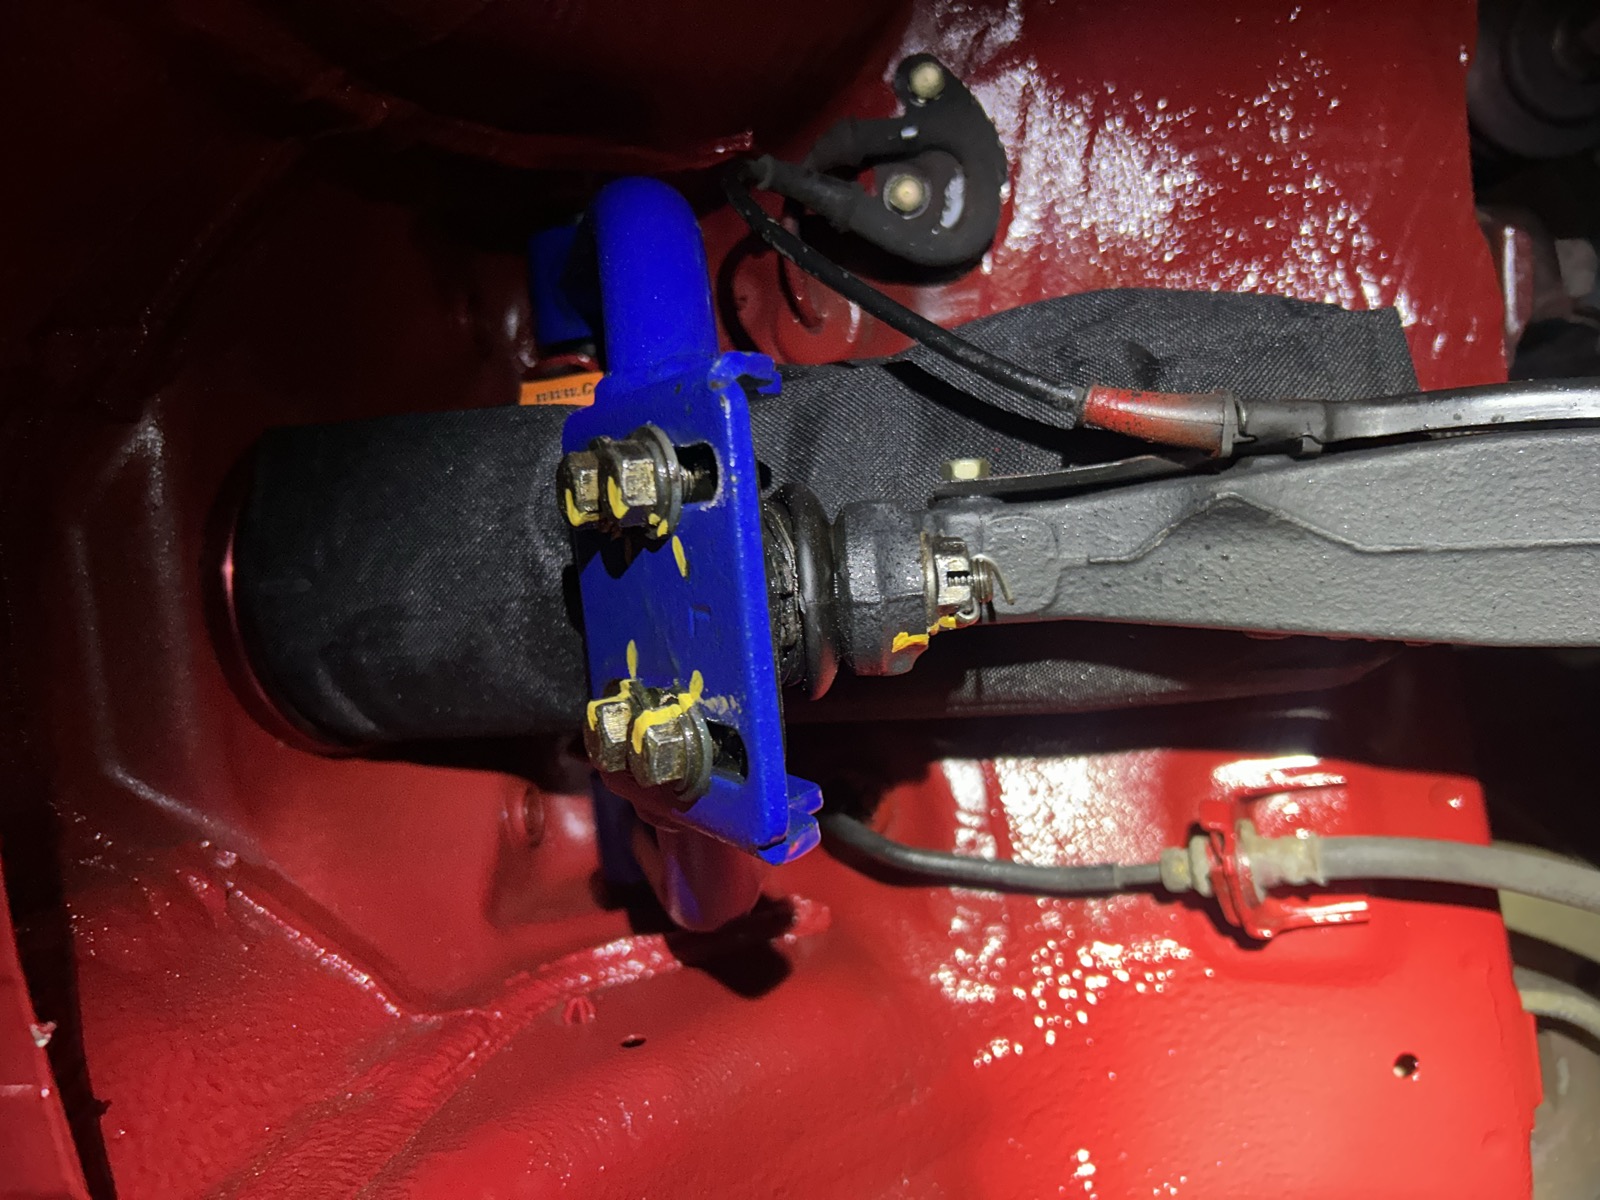
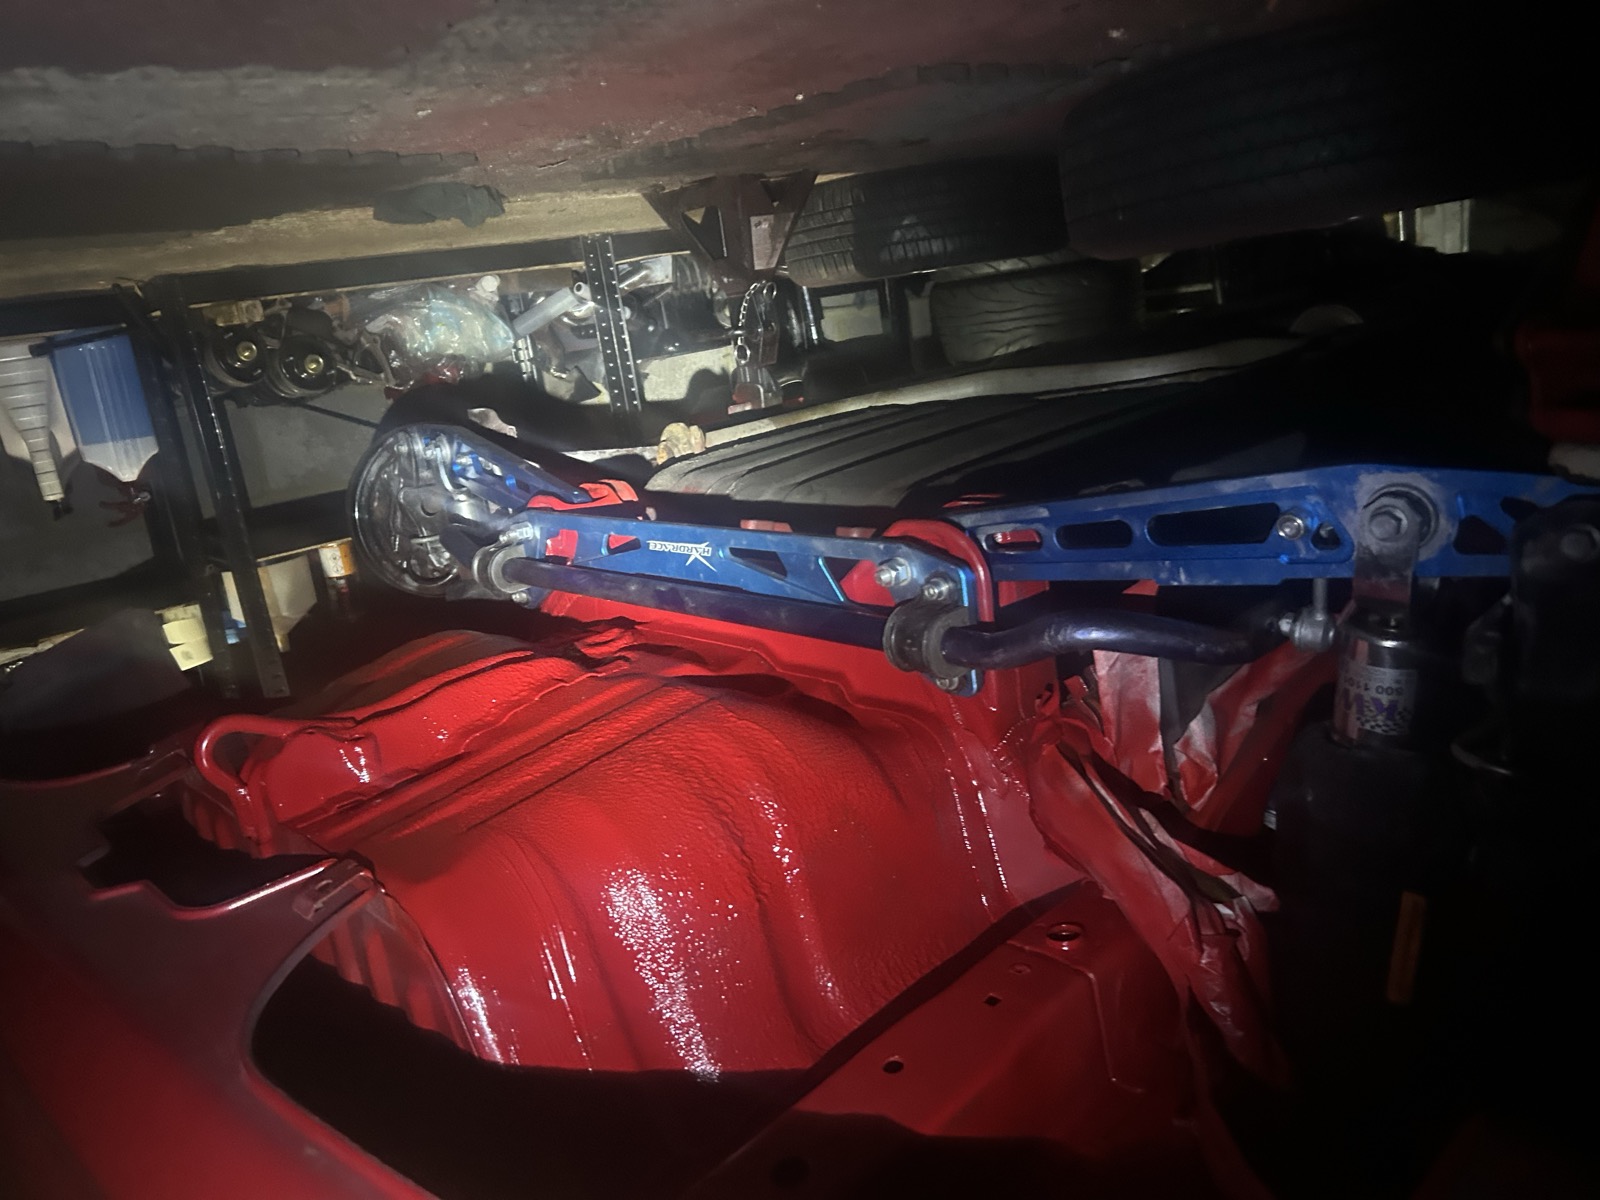
Front and Rear Strut Bars, Rear Lower Arms
To tie the chassis together, I added a Spoon front strut bar and a rear strut bar, plus Hardrace rear lower arms. None of this is about a single big gain — it's about removing flex so the suspension and tires are doing the work the geometry intends.
Wheels: Team Dynamics
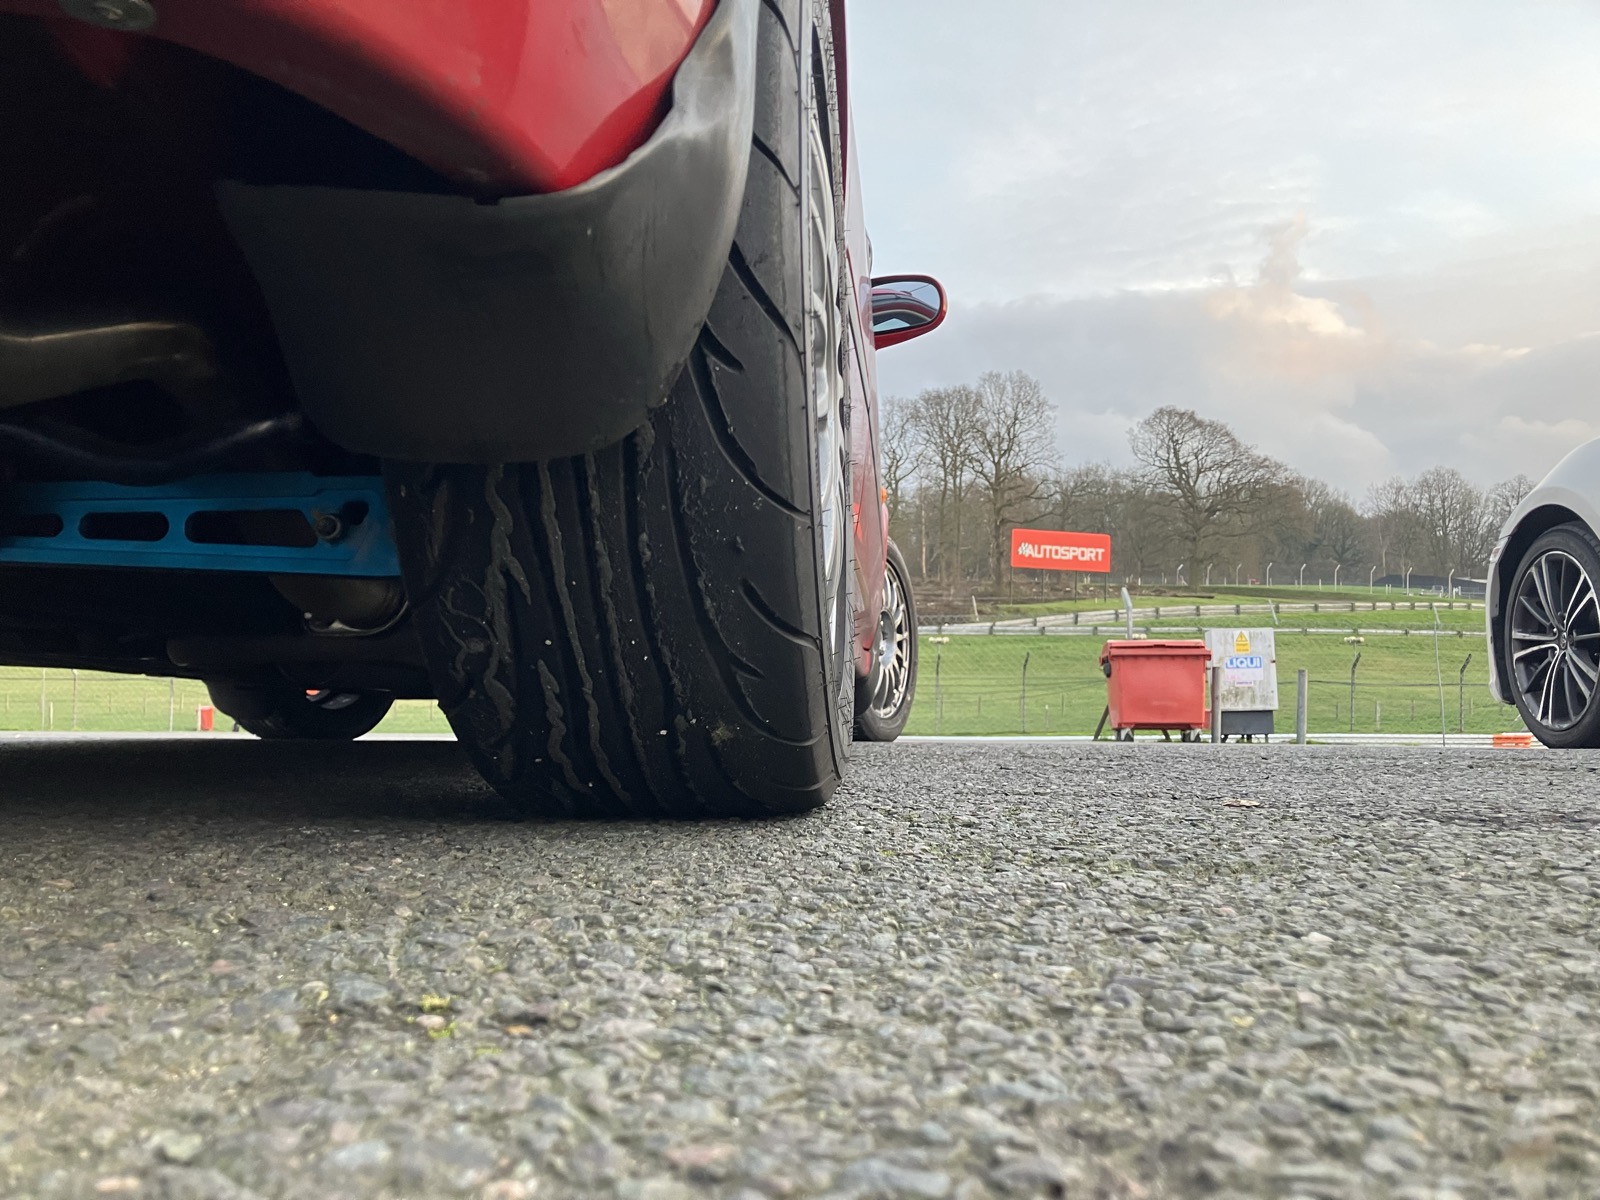
Stock wheels came off in favor of a set of Team Dynamics lightweight alloys — a straightforward swap, but the drop in unsprung weight is noticeable immediately, especially over the kind of broken UK B-roads this car sees regularly.
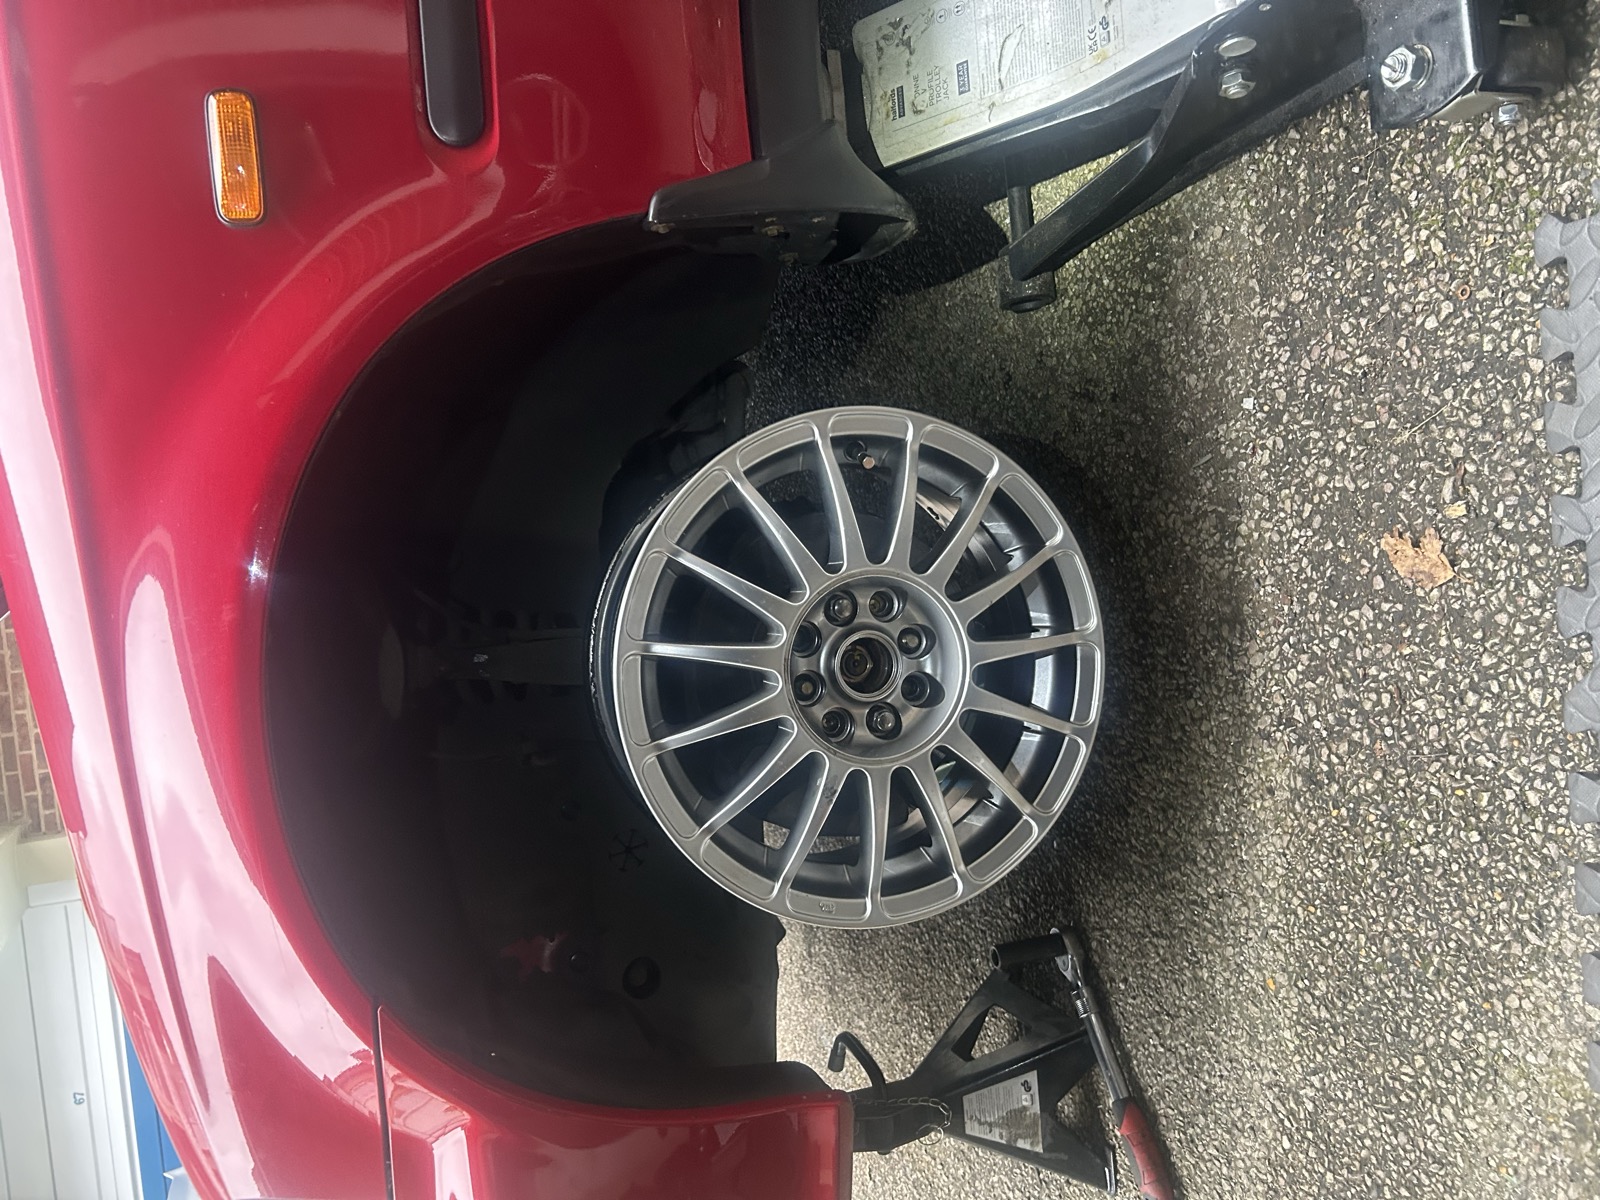
Tires are Nankang NS-2R — a semi-slick that's become a default choice for budget-focused track day cars in the UK, and a sensible match for a car that still needs to be usable on the road.
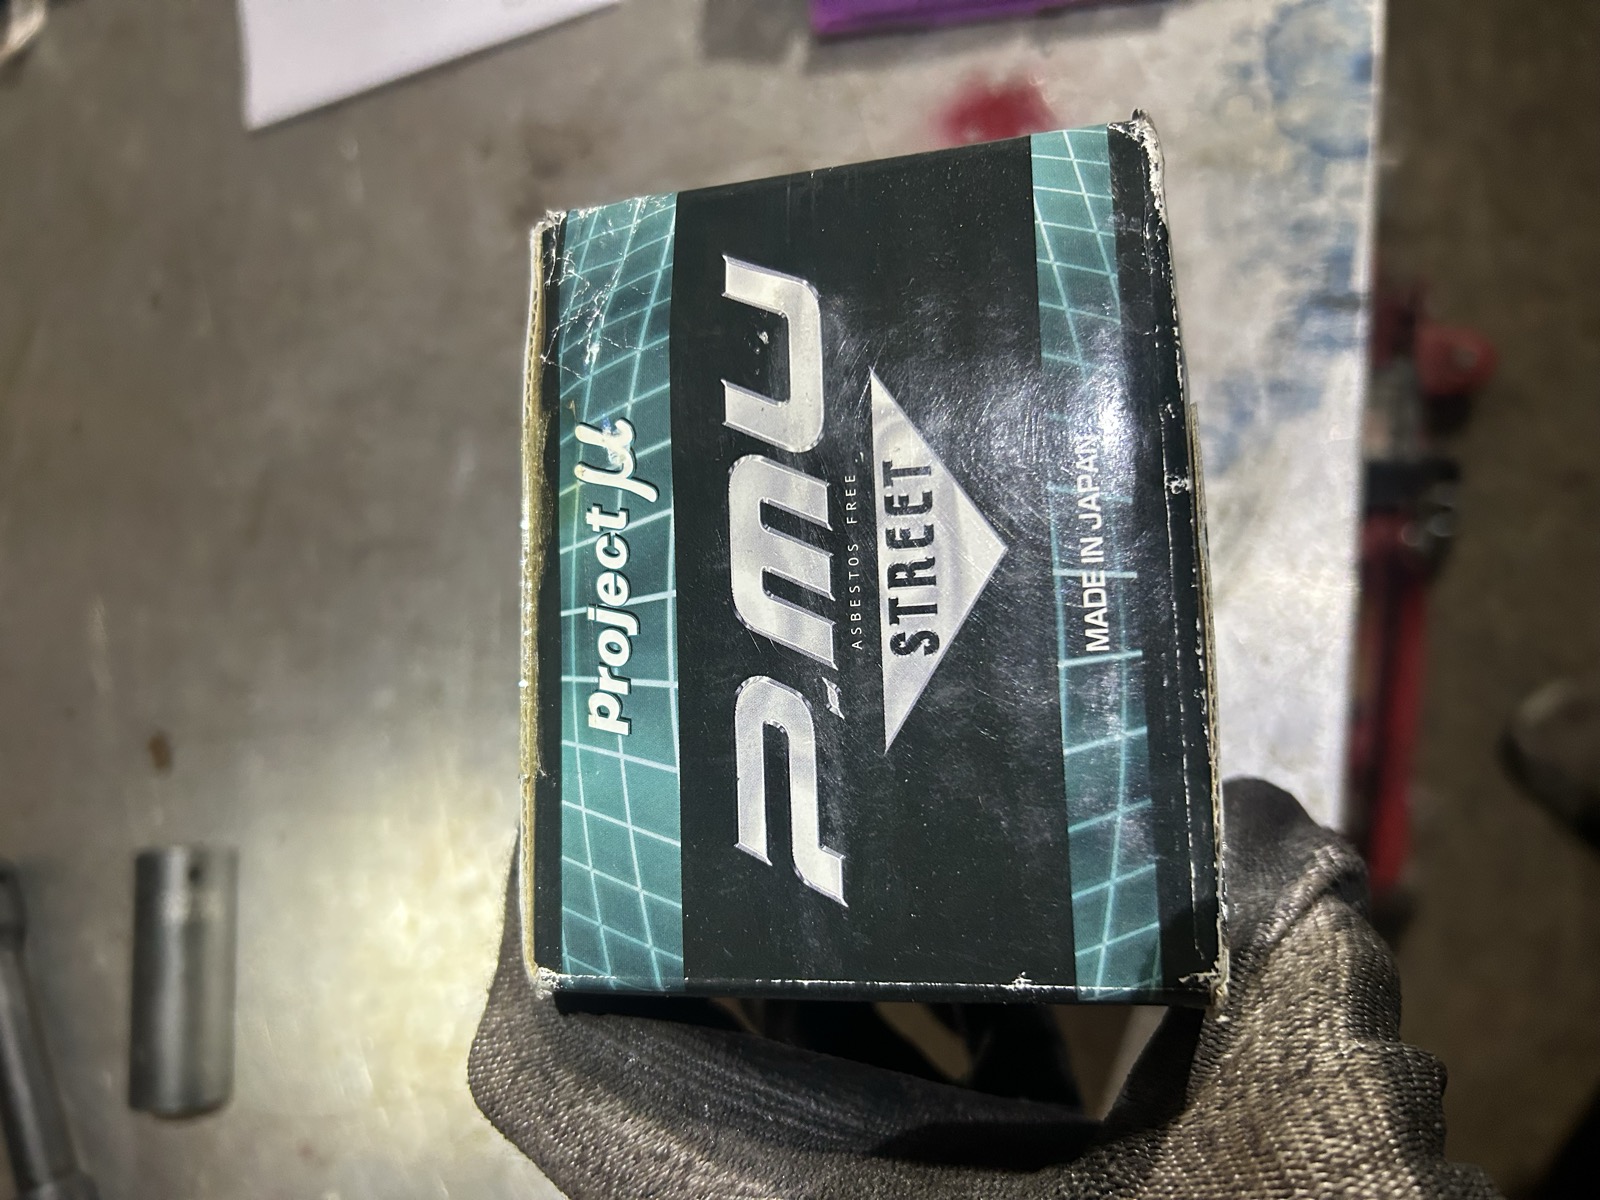
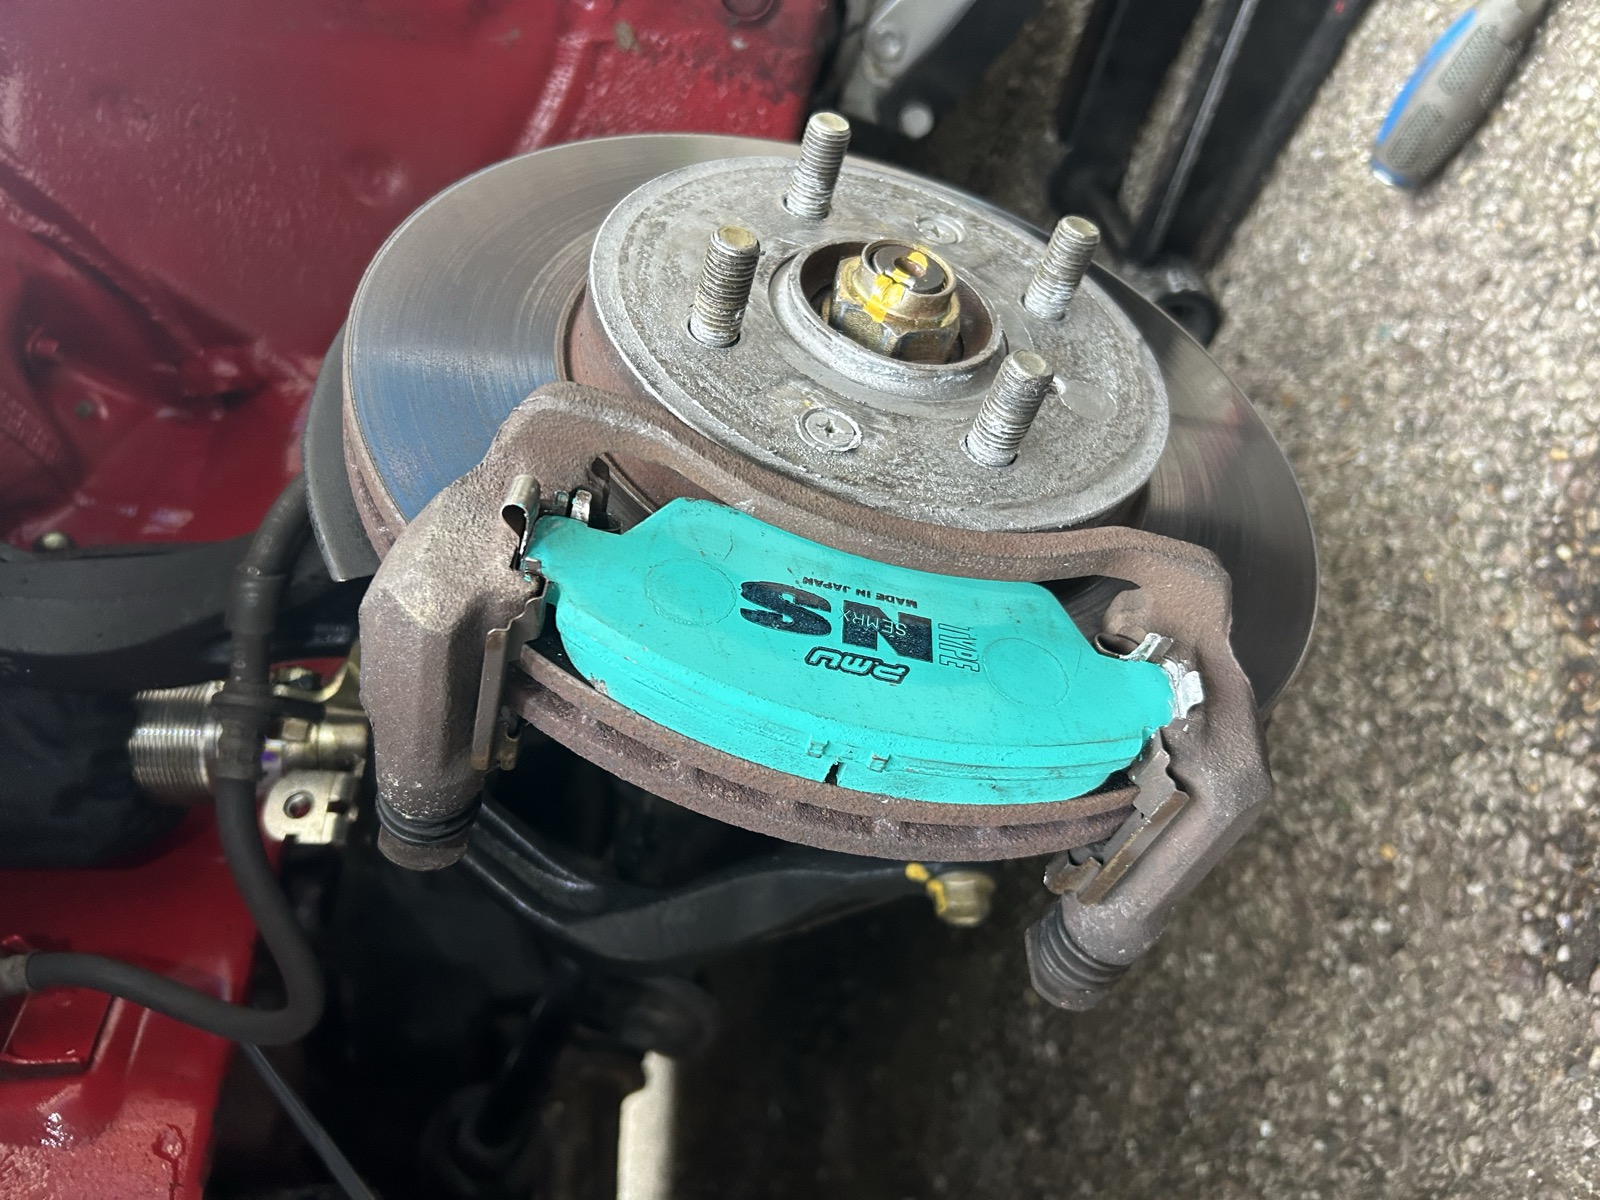
Brakes: Project Mu
Up front, I fitted Project Mu Street pads — a step up from stock without tipping into "cold brakes on the way to the track" territory, which matters for a car that's meant to be driven there and back.
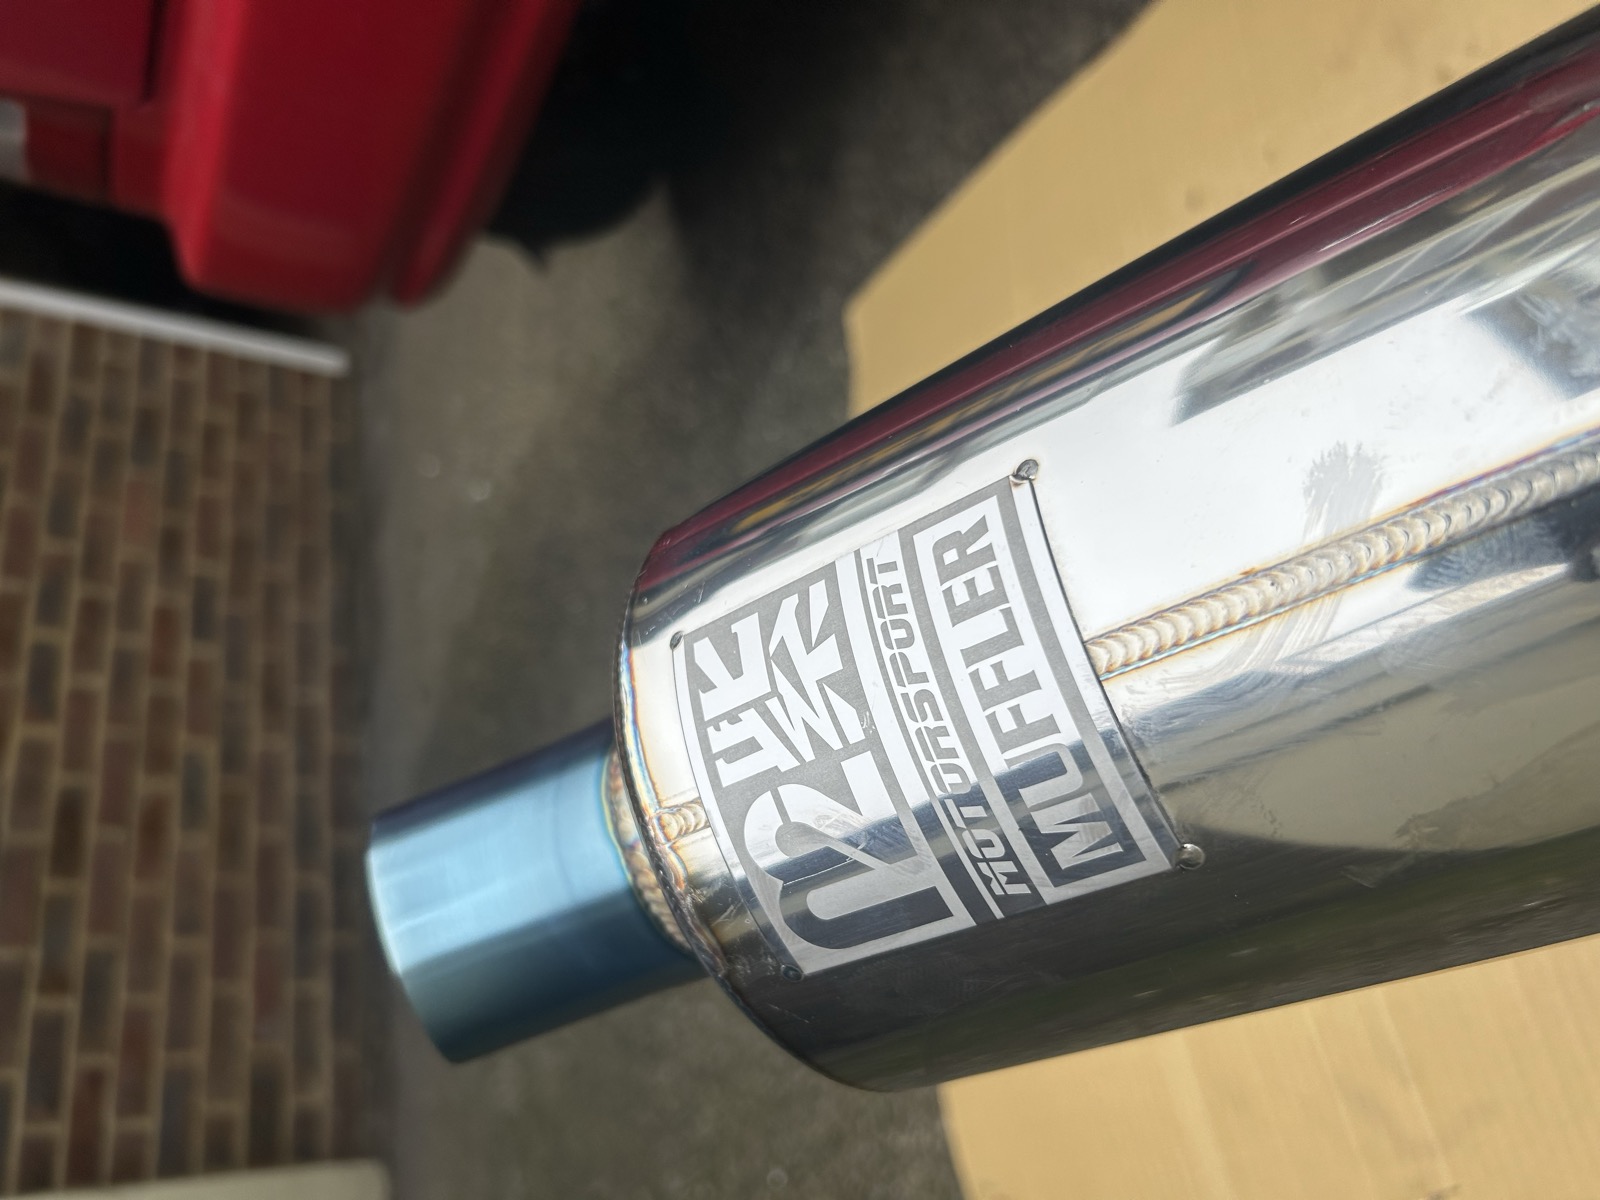
Exhaust: M2 Motorsport Muffler
On the exhaust side, the only change at this stage was an M2 Motorsport muffler — a modest step that's more about tone and a bit of flow than chasing a big power number, since the engine itself is still completely stock for now.
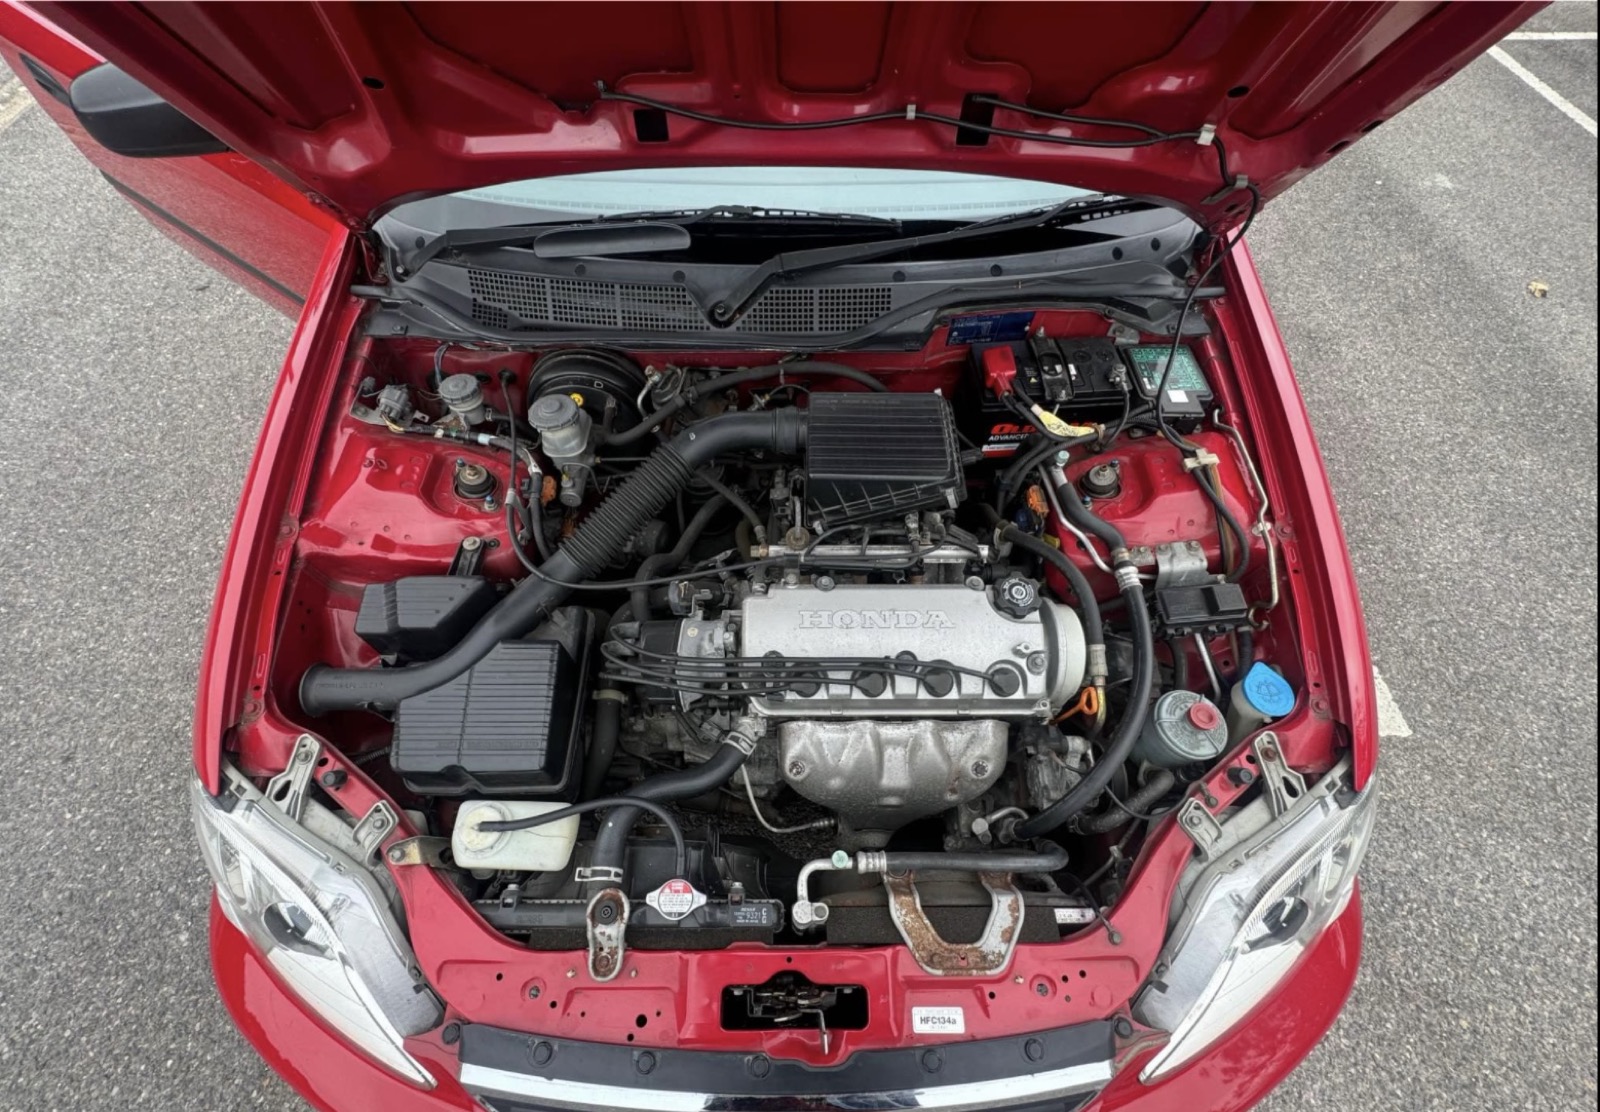
Engine and Gearbox: Leave It Stock, Just Service It Properly
The D14 that's still in the car isn't going anywhere yet, so I left it alone mechanically — but gave it fresh Millers 5W30 and a genuine Honda oil filter, plus a gearbox oil change (genuine Honda fluid, of course). Everything else under the bonnet stayed stock. There's no point chasing handling gains on worn fluids.
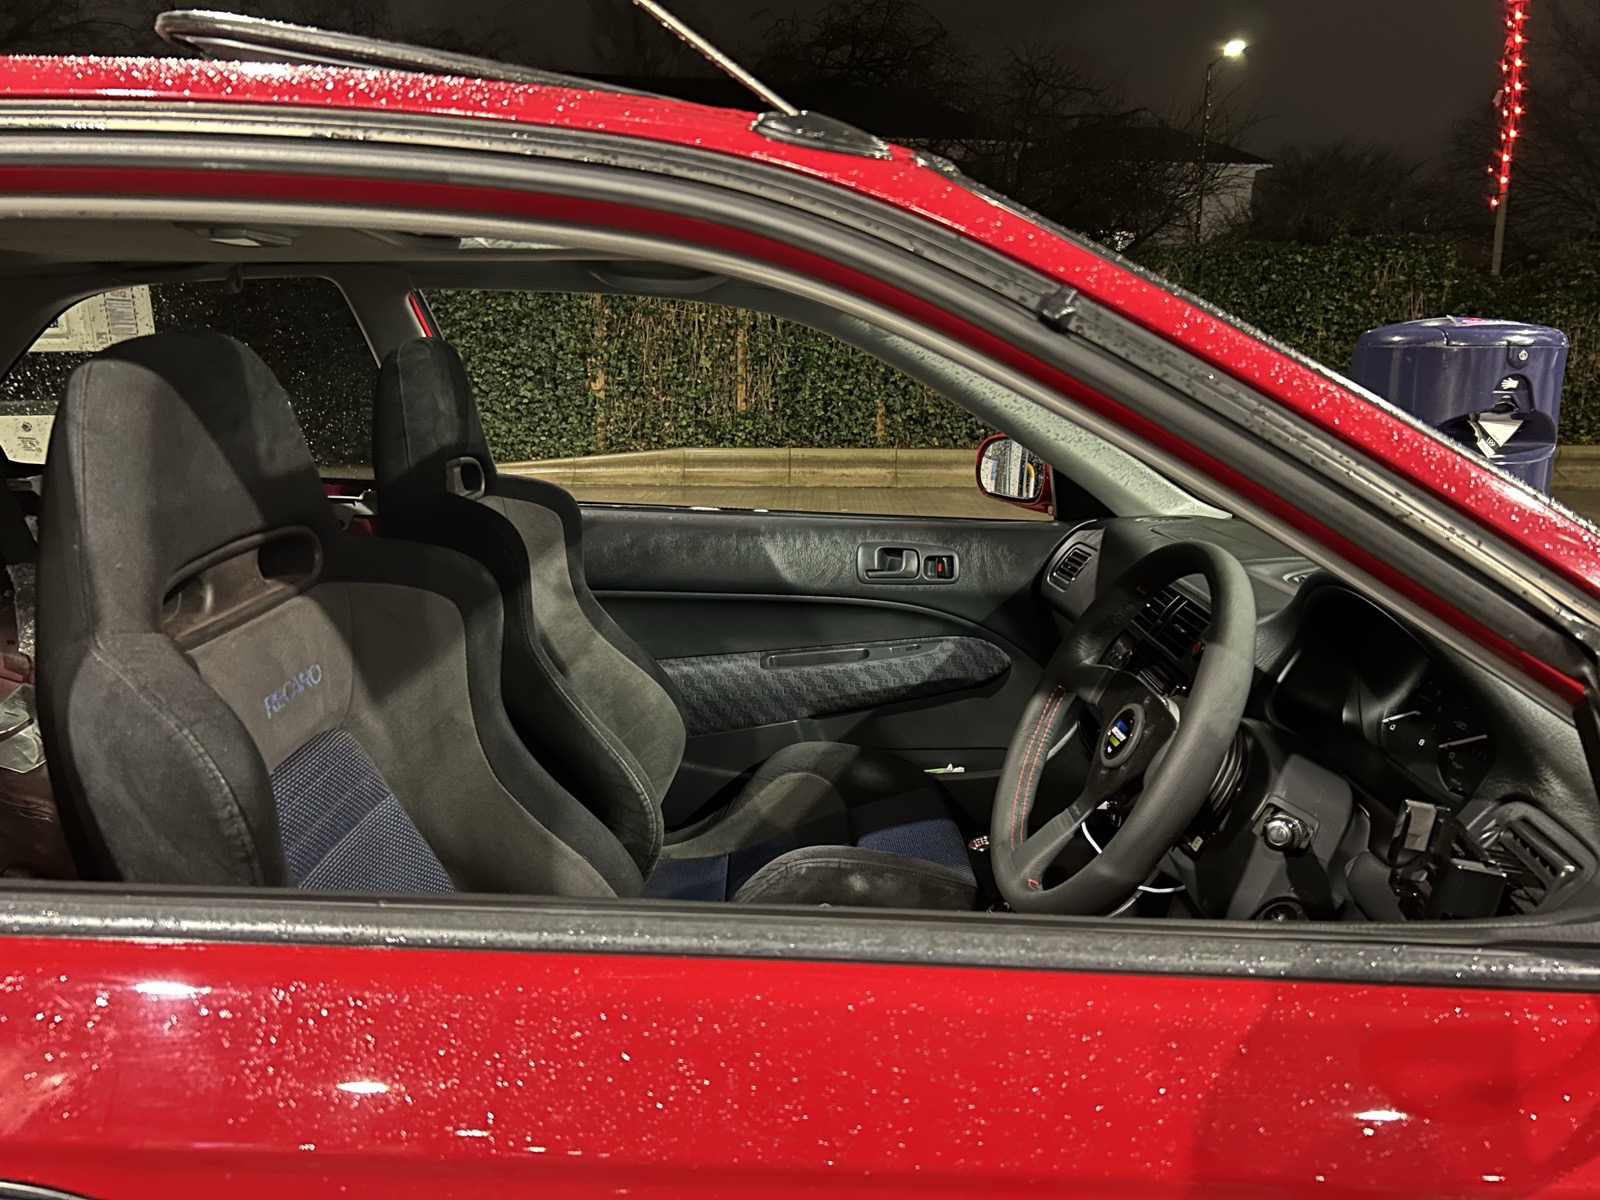
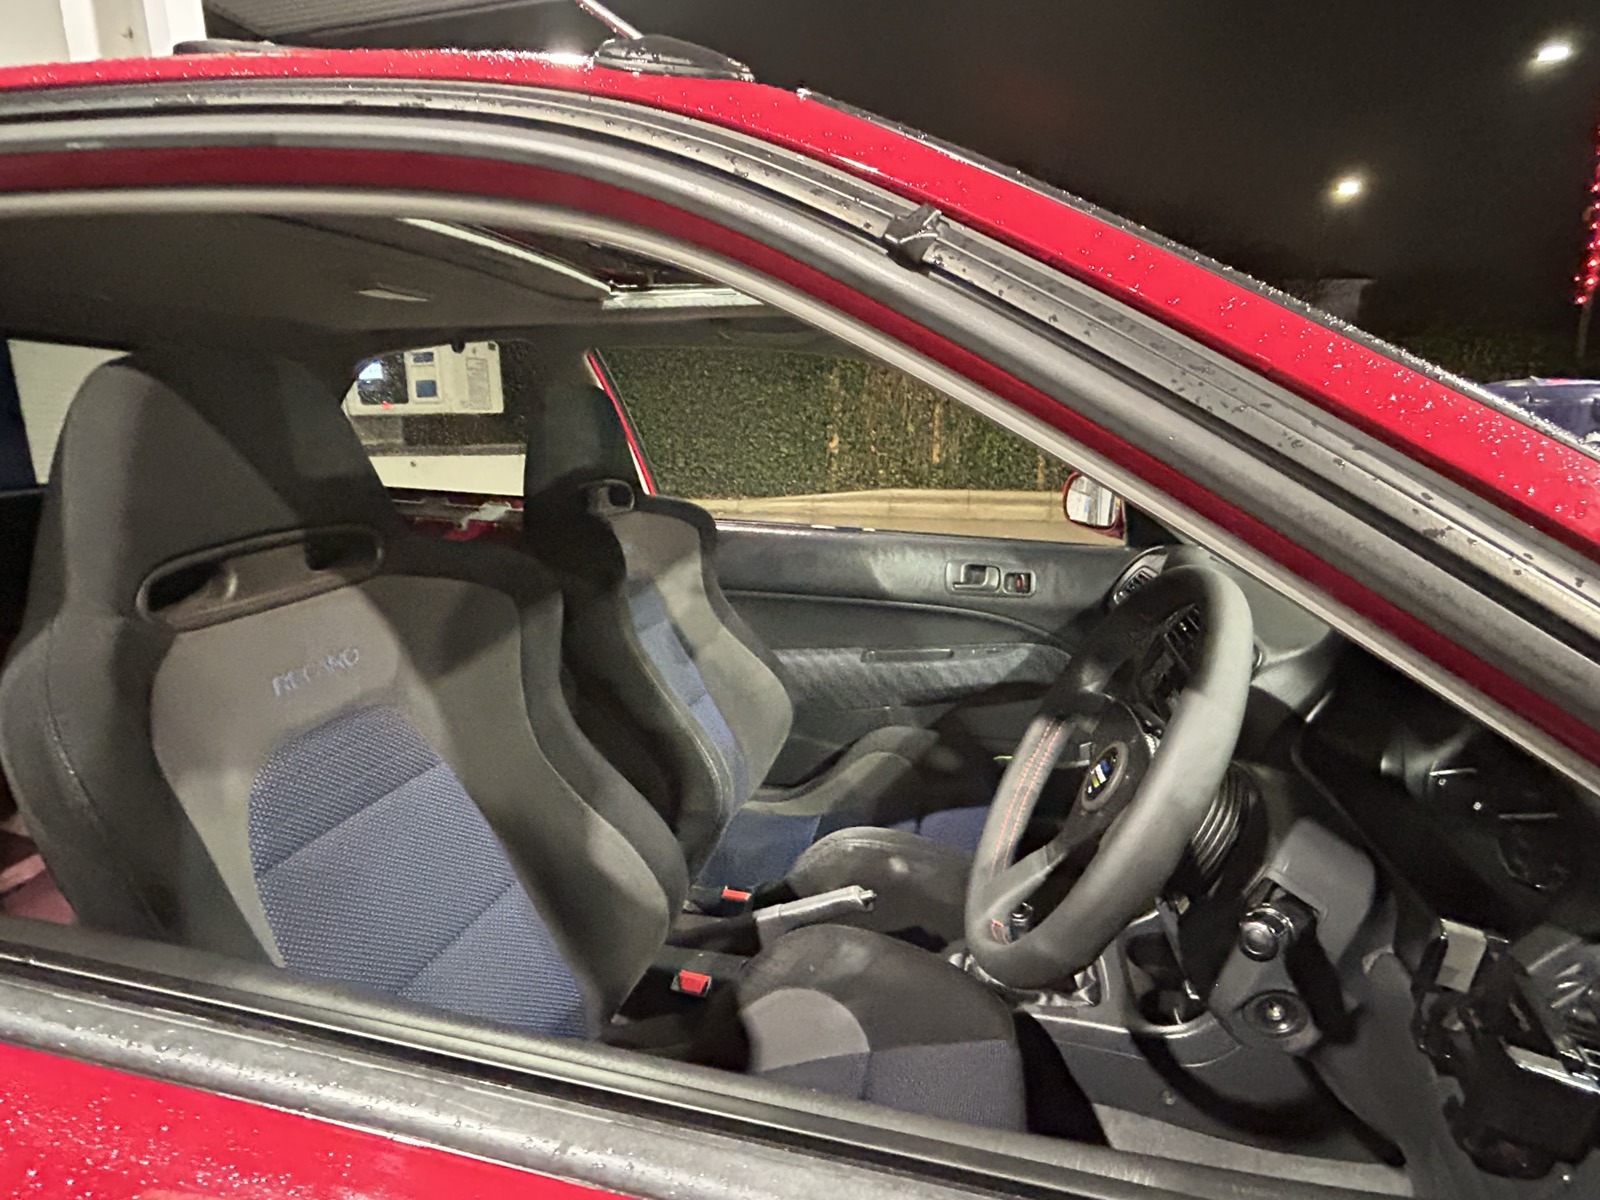
Interior: Evo 7 Seats, Spoon Wheel, and a Rear Seat Delete
Inside, the biggest change was a pair of Evo 7 seats — yes, the same seats from 2 Fast 2 Furious, if that's a reference point that means anything to you. They're bolstered properly for track use but still comfortable enough for the school run.

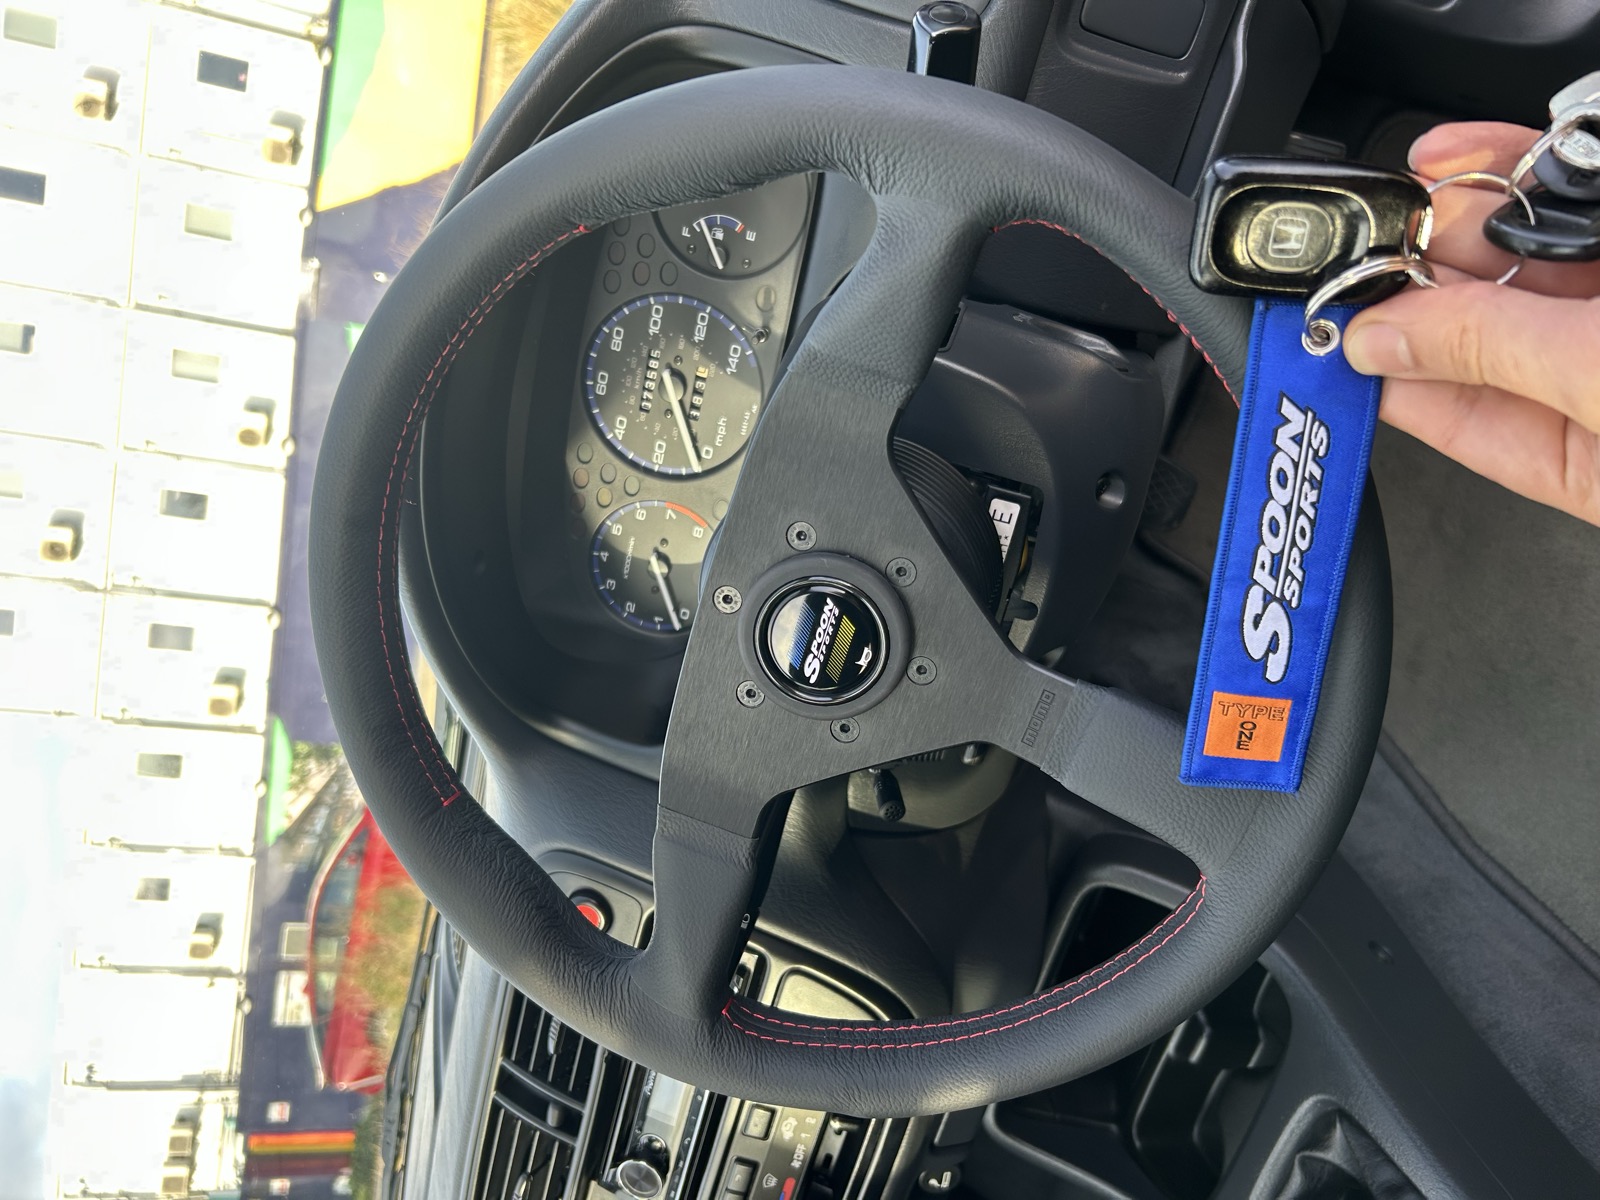
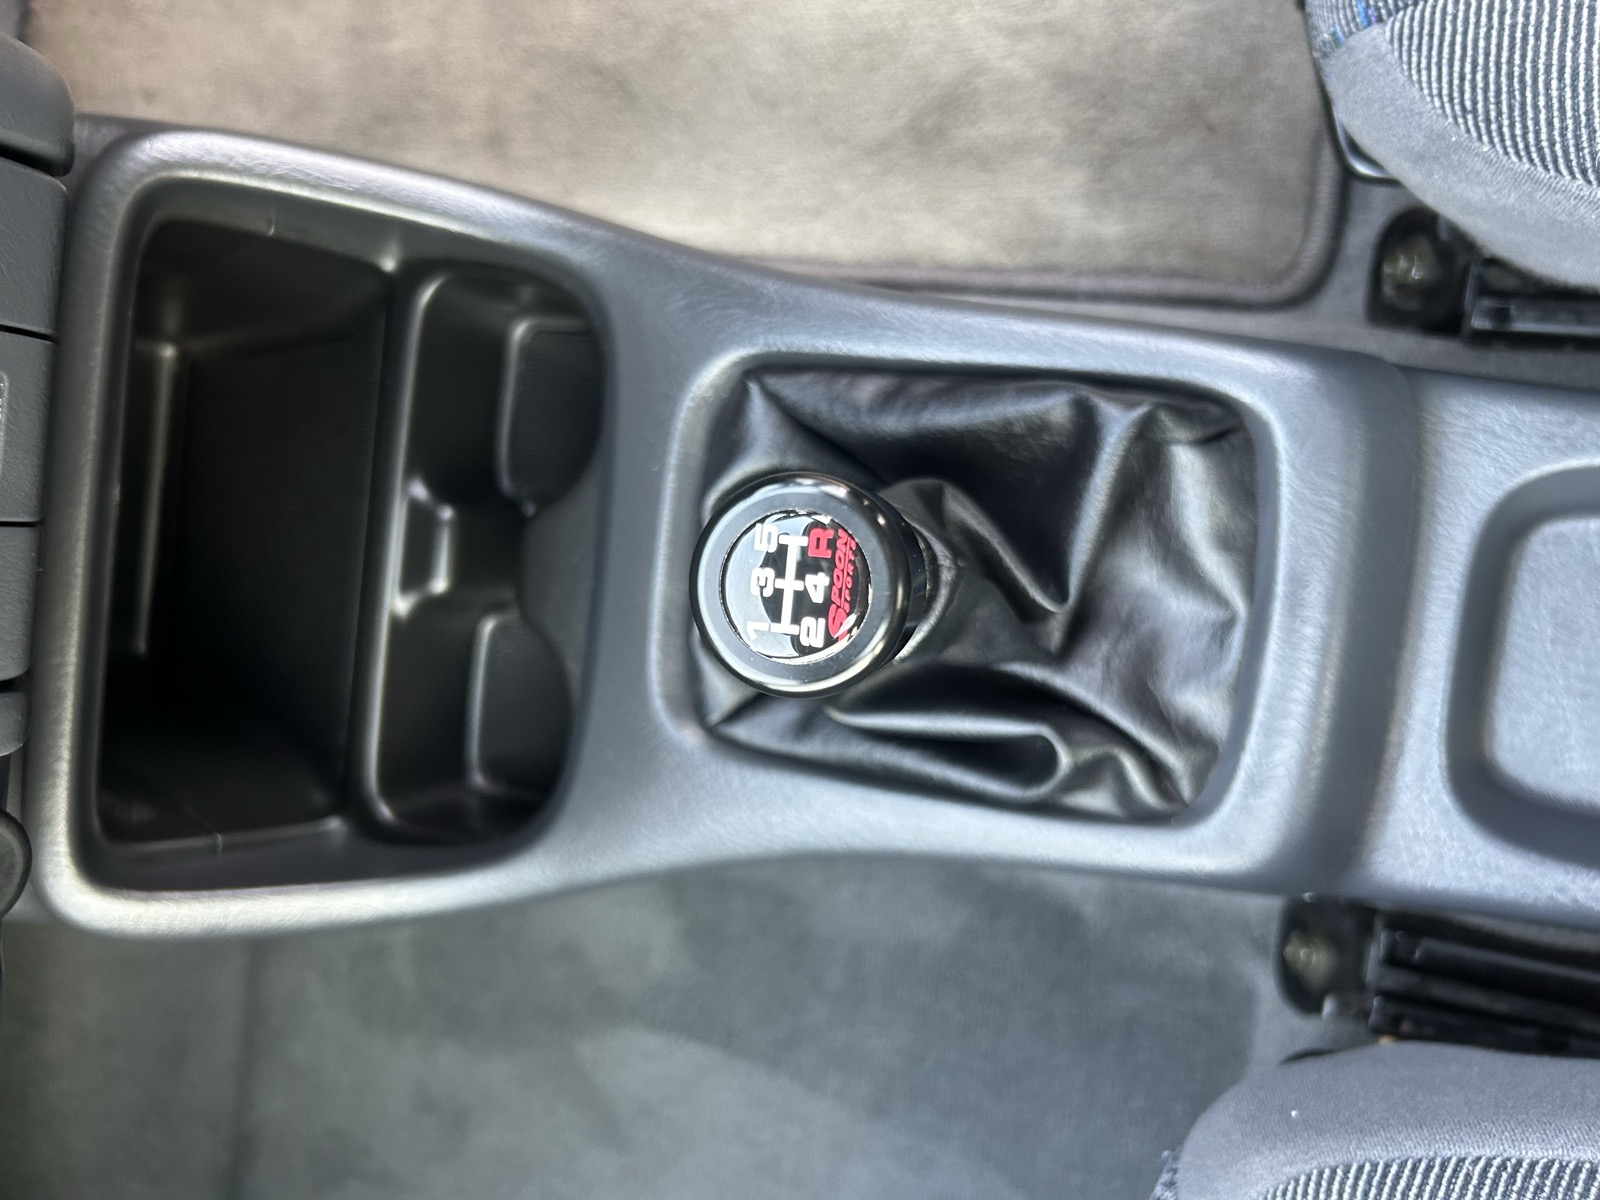
Alongside the seats: a Spoon steering wheel and Spoon shift knob, both small changes but ones you feel every single drive.
The rear seats came out entirely — a rear seat delete, finished to look "OEM plus" rather than a stripped-out track special. A lot of the interior work happened late at night in the garage, which is its own kind of grind.
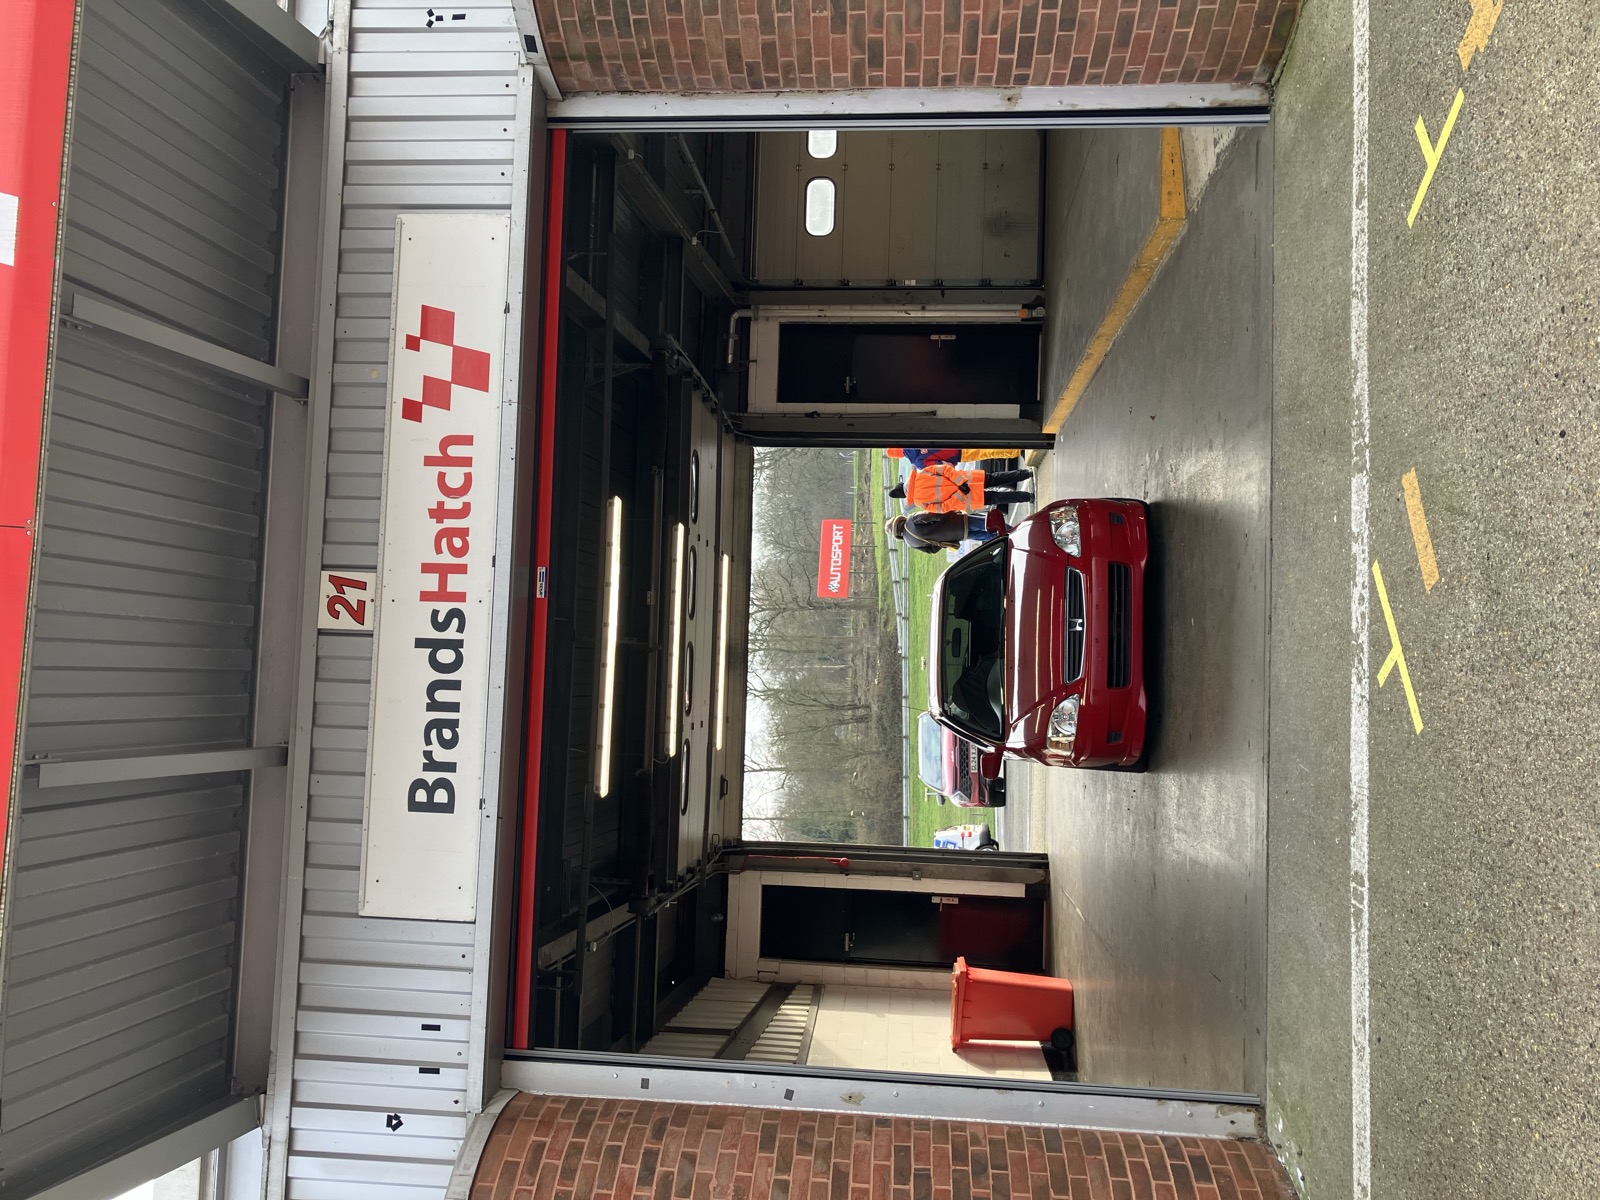
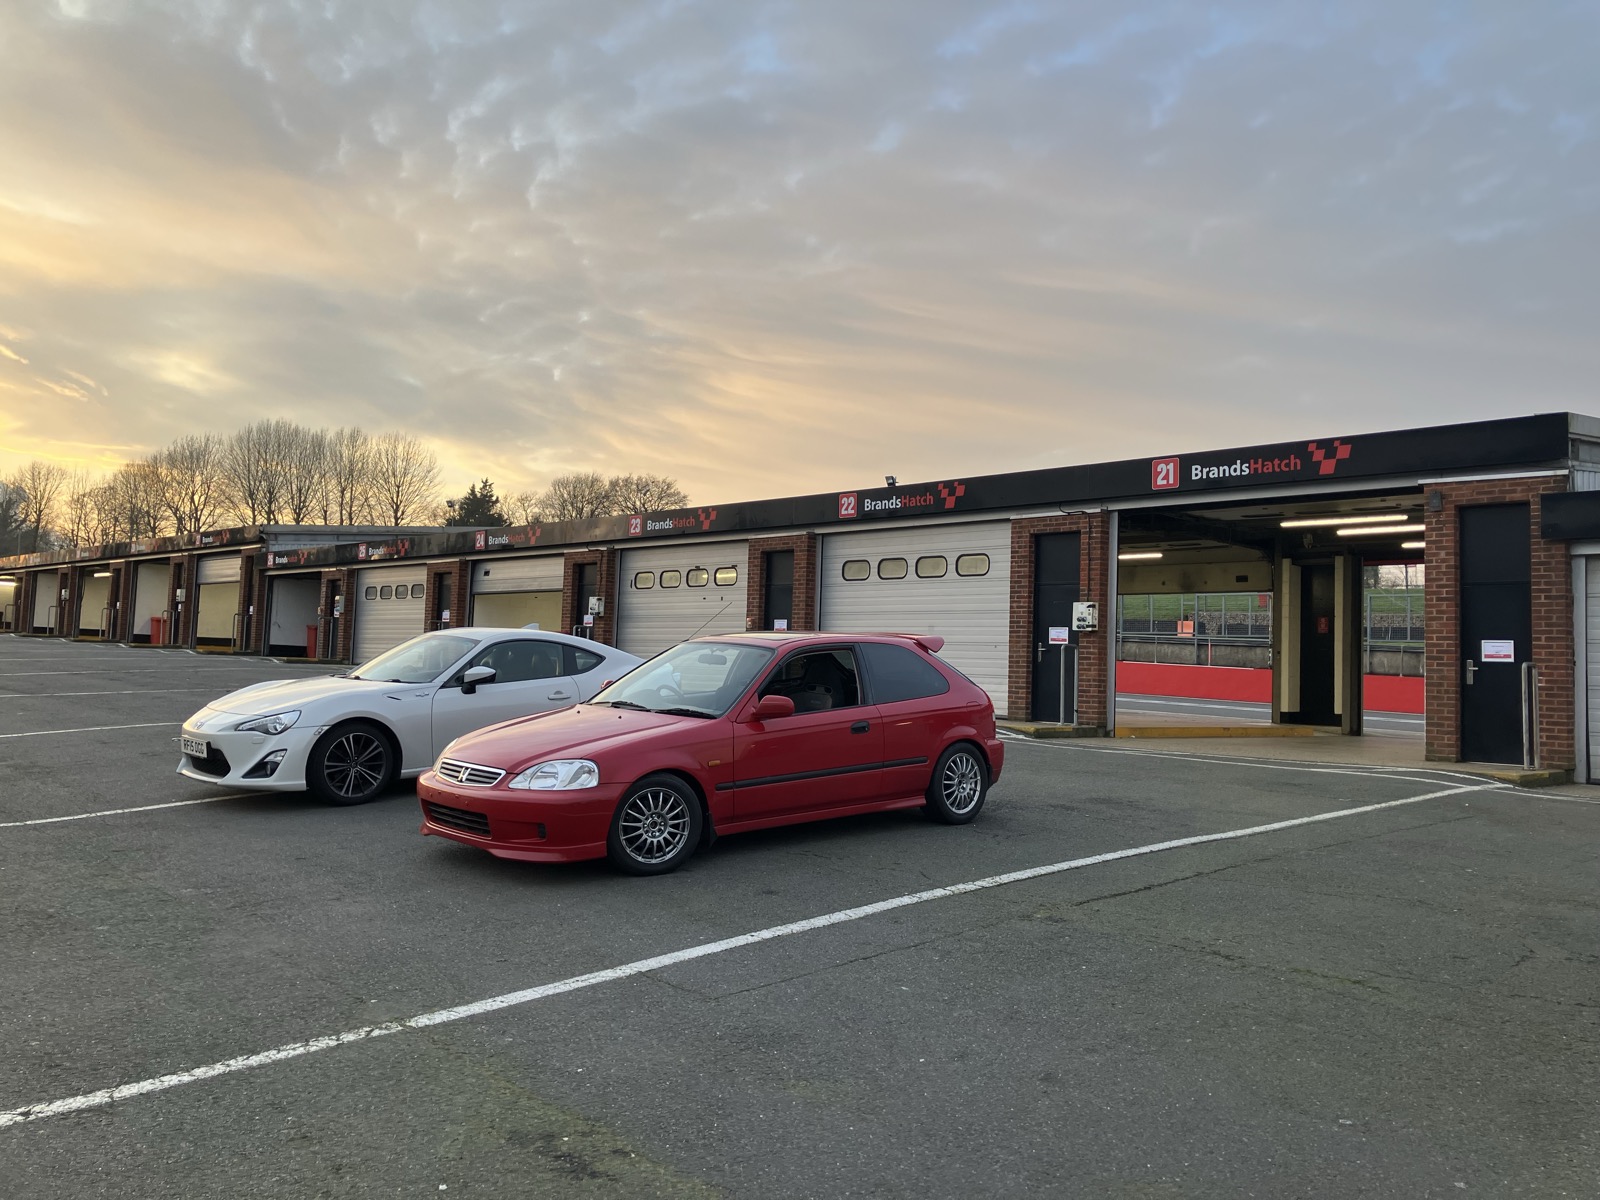
First Test: Brands Hatch
With all of that done, it was time to actually test it. Brands Hatch is my favorite track — it's wide and forgiving, so a mistake doesn't immediately put you in a ditch, and it has enough elevation change and variety of corners to actually learn something every lap.
I spent the day adjusting compression and rebound on the KW V3s between sessions and just tracking, and tracking again. Every single lap was a learning moment — I'm honestly not sure why so many people chase a lap time number while missing the engineering philosophy behind why a car behaves the way it does.
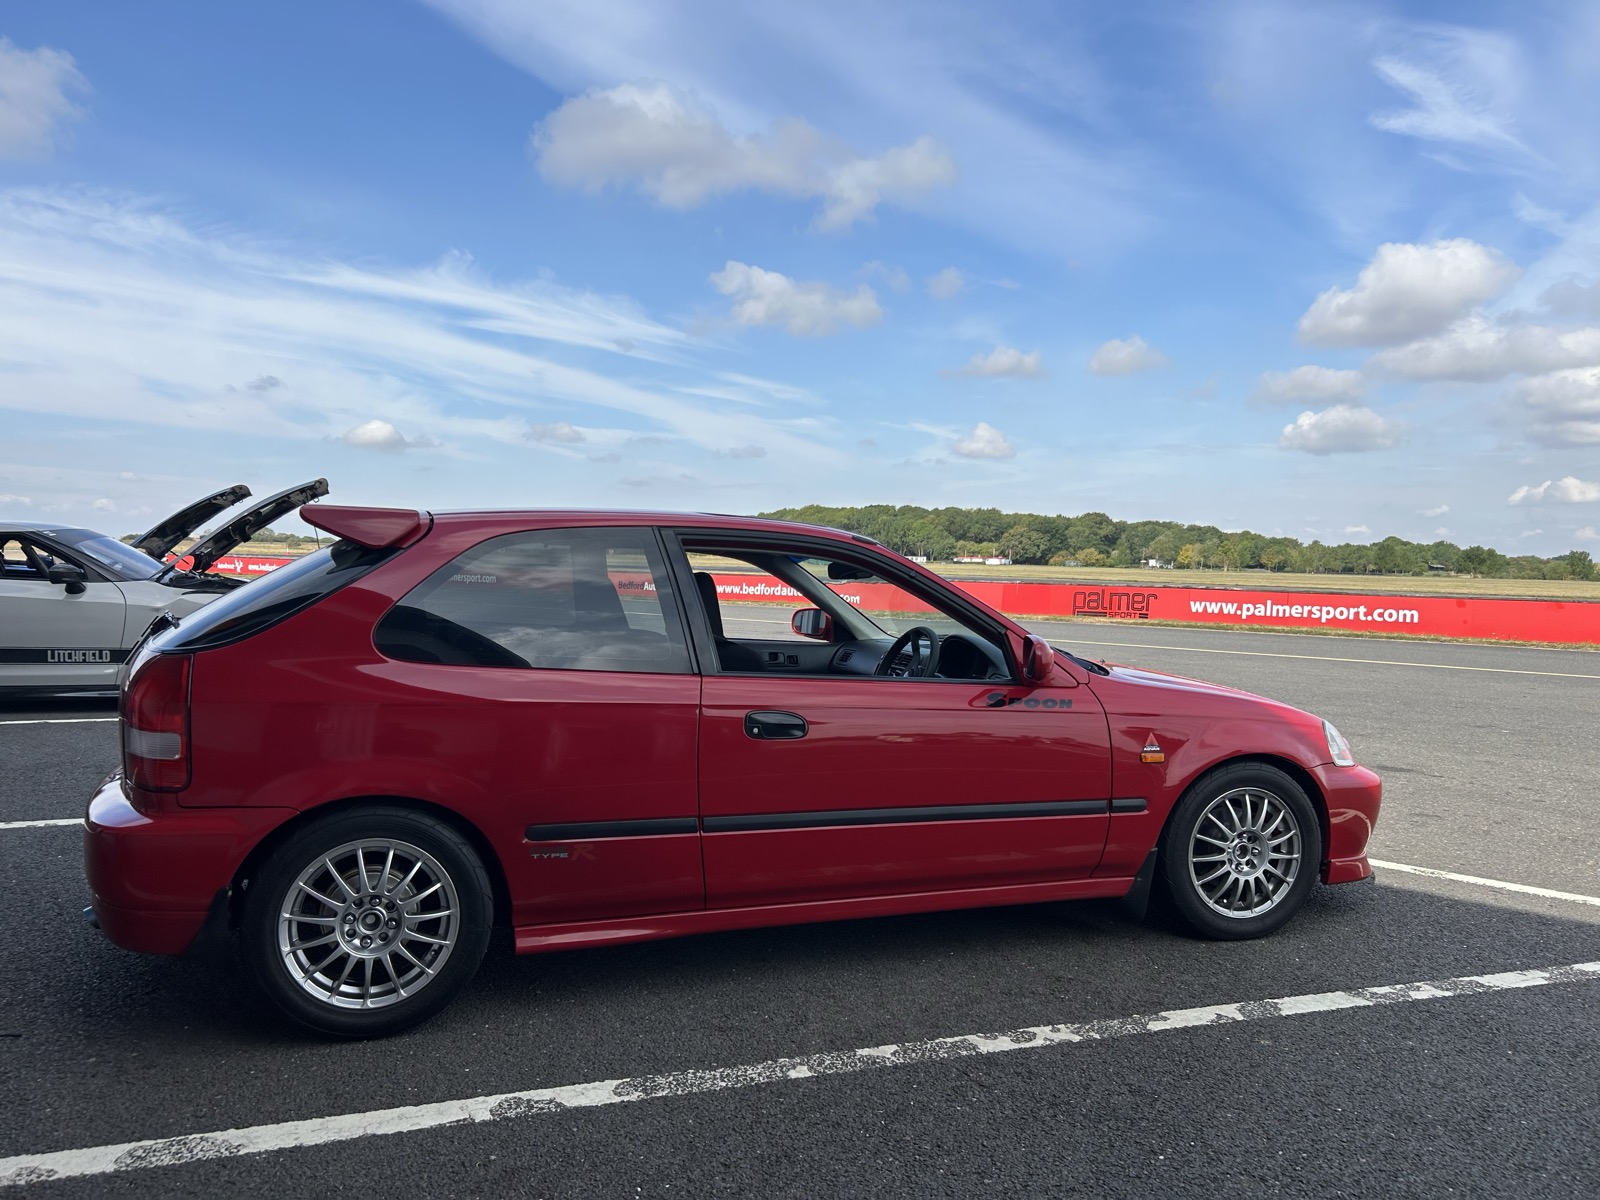
A Day at Bedford Autodrome
Alongside Brands Hatch, the car also did a track day at Bedford Autodrome — another chance to feel how the suspension, brakes, and tires were working together before any engine changes, on a very different layout.
A Quick Trip to the Nürburgring
After Brands Hatch, I also managed a short trip out to the Nürburgring — just a single day, but it's the kind of place that's worth the trip even for that. Driving the car you've been working on for months down the same pit lane as Porsches and GT cars is a good reminder of why you started.

A Honda Meet, and a Look at What's Next
Not long after, I took the car to a Honda Euro meet — and ended up parked next to a brand new Civic Type R. Two generations of Civic, two very different approaches to the same idea, side by side.
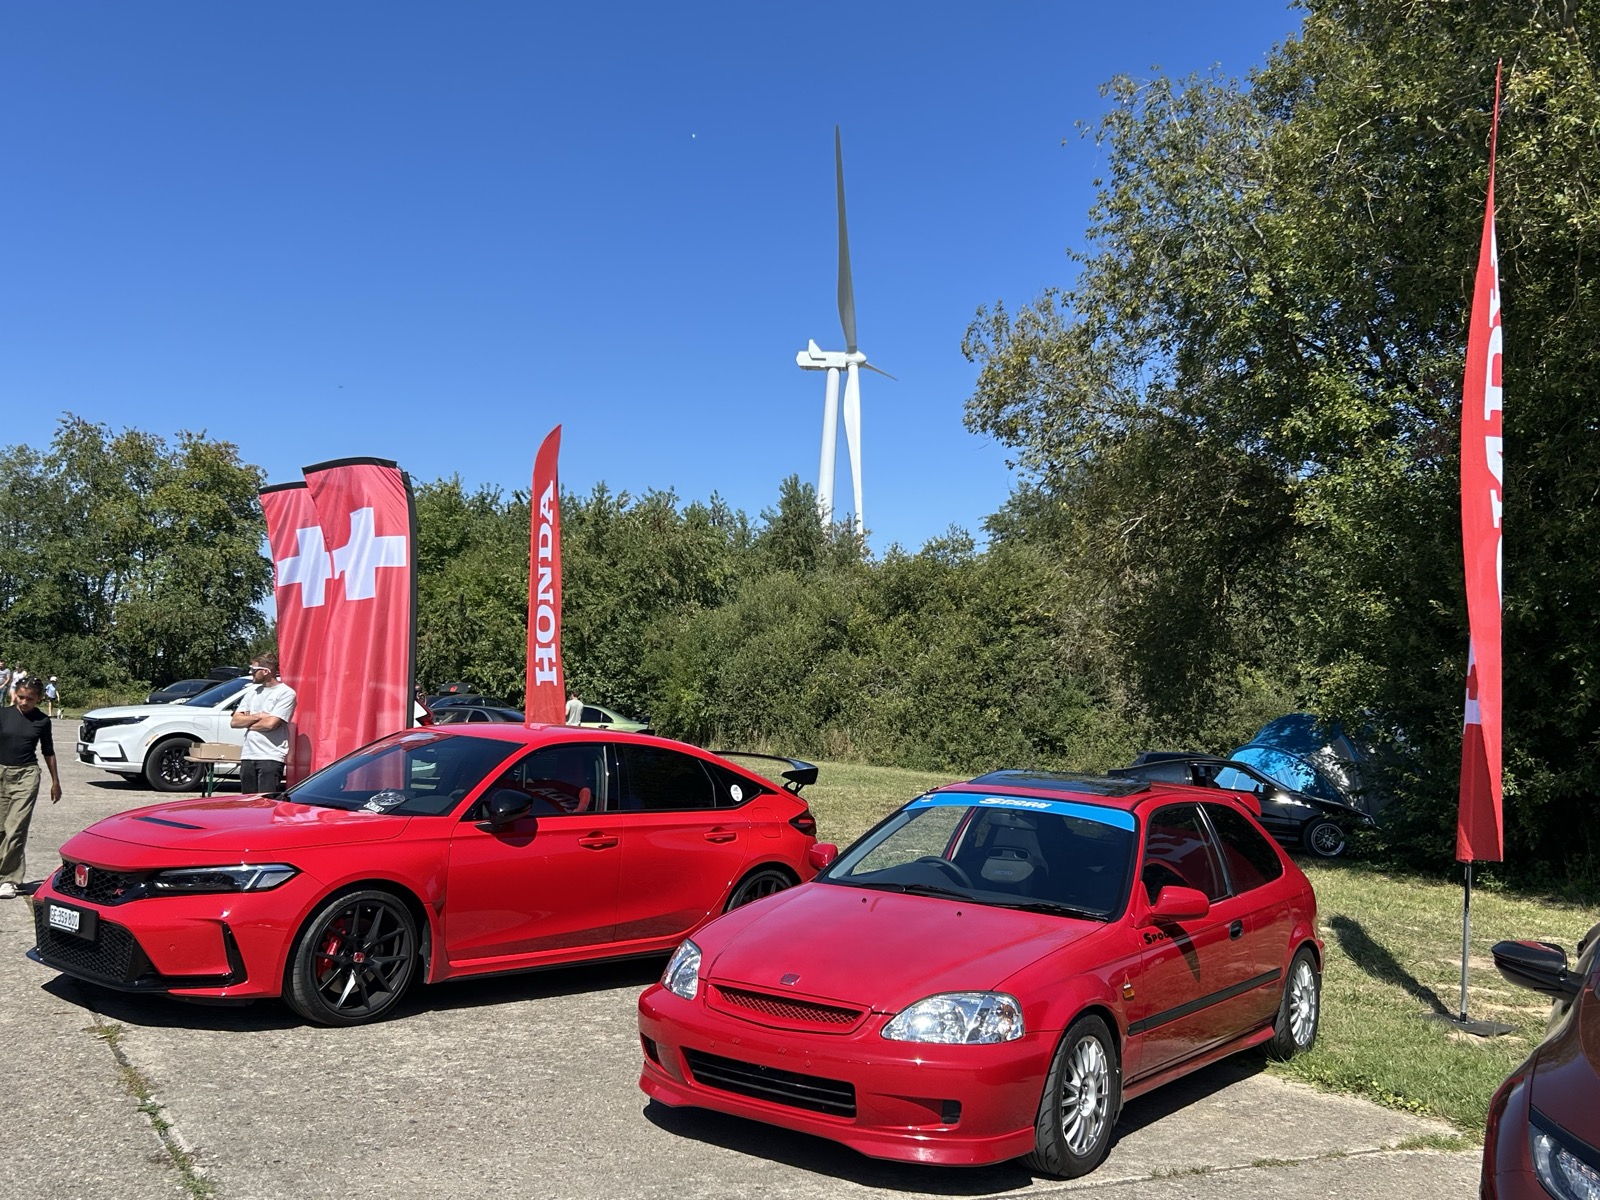
That new Type R is actually a decent segue into where this project goes next.
B-Series or K-Series?
With the chassis sorted and tested at Brands Hatch and the Nürburgring, the next decision was the engine itself: B-series or K-series.
Forget the internet debates for a second — on paper, K made sense in almost every way. K20 and K24 engines are everywhere, parts are cheap and easy to source, and the support network around them is huge. B-series engines are rarer, and while a B20V can be a great option, parts for it are hard to find unless you're prepared to hunt. For research, the usual suspects — VTEC Academy, Mighty Mod Cars, and Speed Academy on YouTube — were the best sources of real-world information.
The deciding factor, though, was the FN2 — the 2006-2011 Civic Type R. There are plenty of them in the UK, the K20 engine drops into an EK without needing an aftermarket ECU and the long list of supporting parts that usually come with a swap like this. Once that became clear, the answer was obvious: everything for this swap would come from a donor FN2.
And for what it's worth — the FN2 is a great car in its own right. Forget the rear solid axle critics; people track these all day long and they hold up.
That's where part 1 ends: a sorted, tested chassis, a donor car identified, and a clear plan. Part 2 picks up with the actual swap.
Comments
Loading comments…